My Nova
page 6
24th October 2010
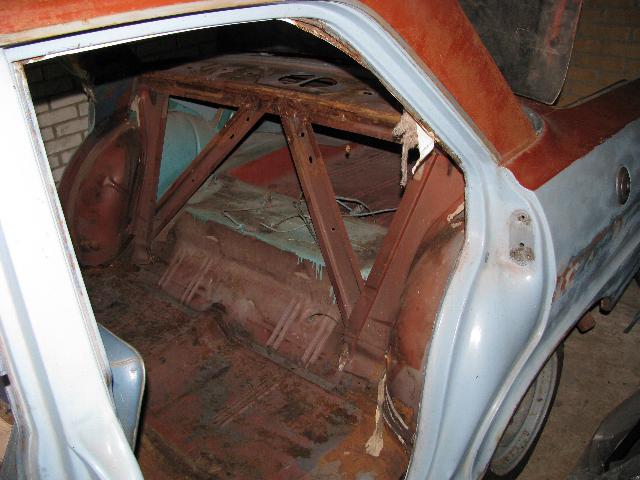
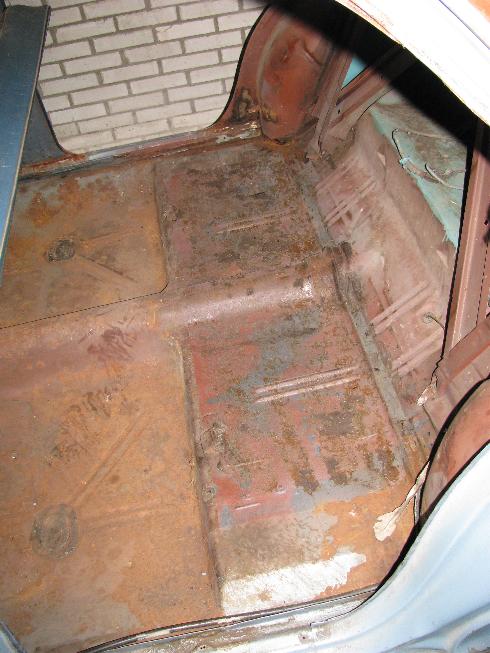
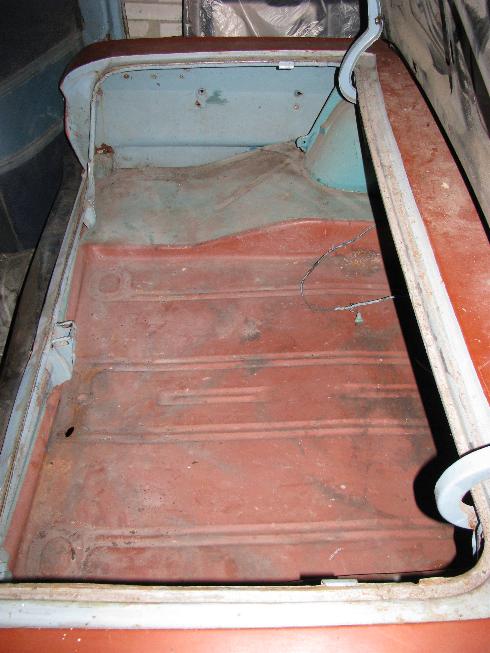
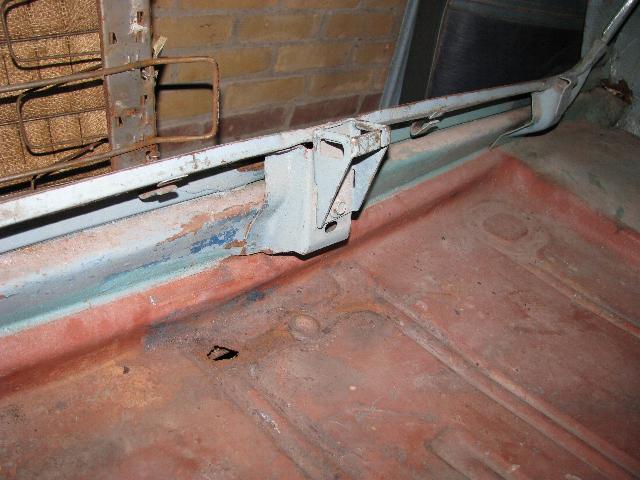
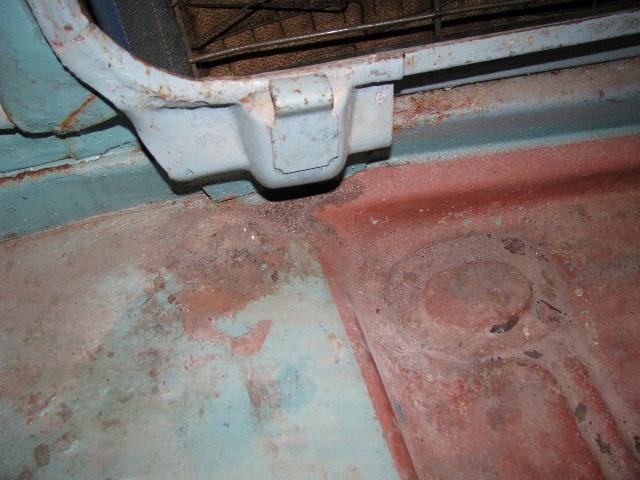
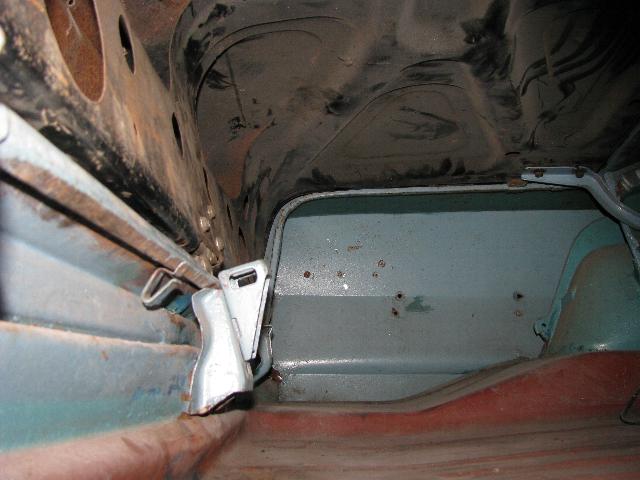
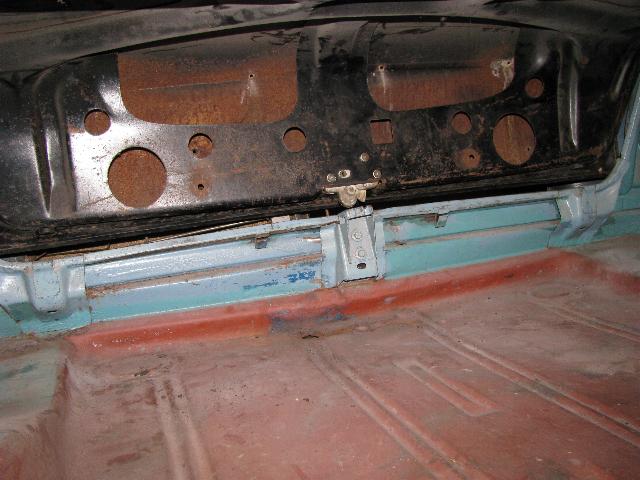
I also took out the rear bench seat and cleaned the floor a bit to see it’s condition. The rear tubs have some work but I might not have to buy new ones for them, the driver side is the better of the 2. I will need new quarters and maybe tail light sections.
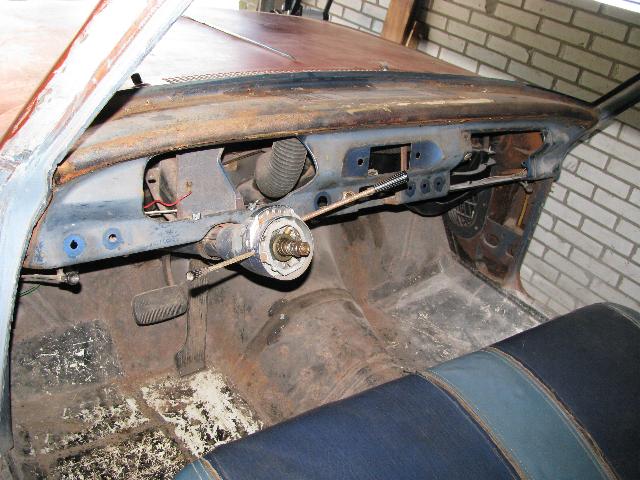

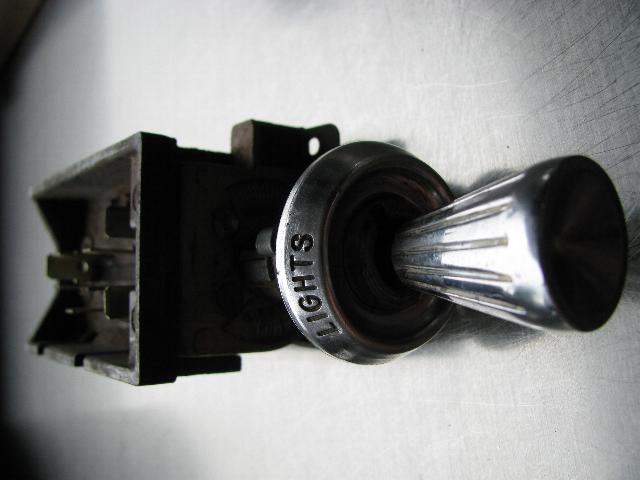
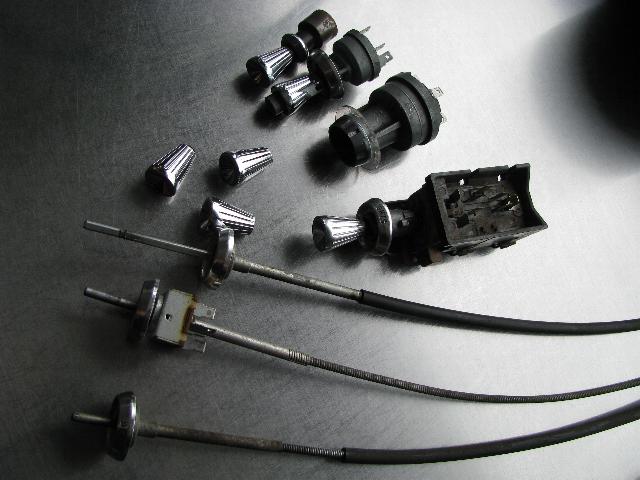
I also removed the control knobs from the dash and the steering wheel. The light knob can be removed by pulling it out, then pressing a small pin in the back and pull it further out.
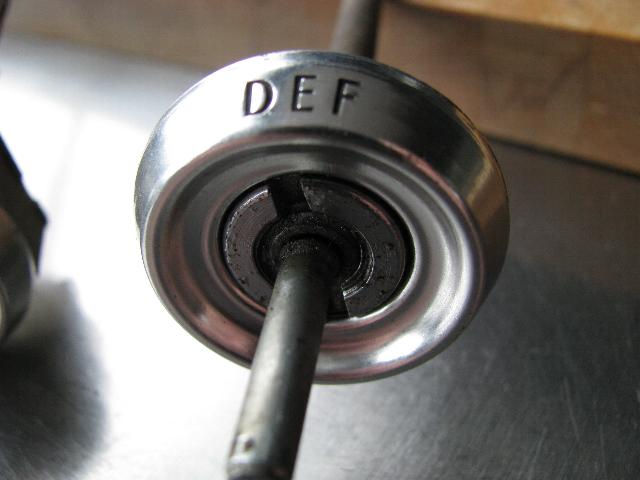
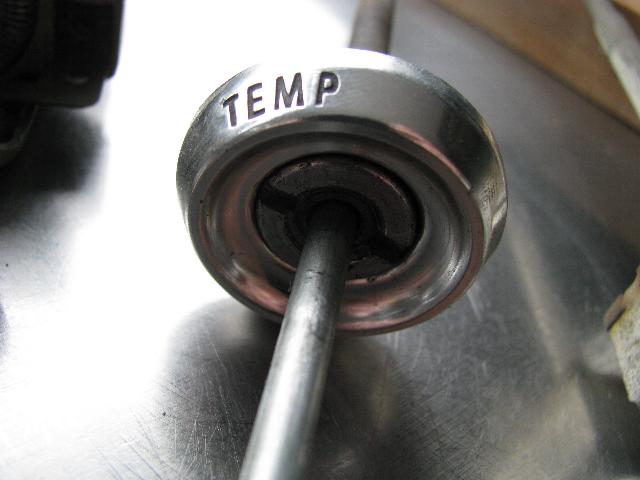
The heater control knobs have a small spring type clip mounted in them, after pulling the knob out you can use small pliers to compress the clip and take it off.
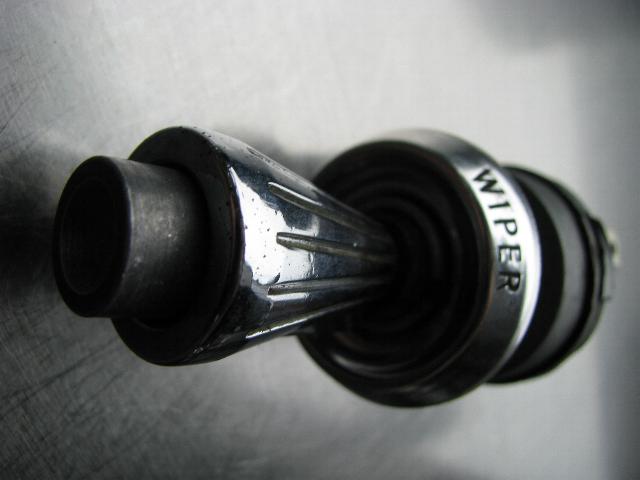
The wiper control knob has a small set screw in it, just unscrew and it’s loose.
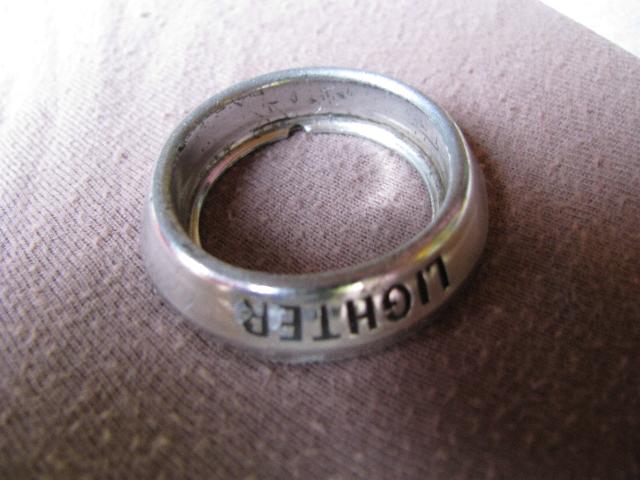
I was not able to remove the cigarette lighter housing, but I’ve read I have to “unscrew” the housing from the back of the dash….I sprayed it with lubricant and with working gloves on I got it out. The bezel was damaged, but I managed to get it back into shape and clean it. Still some minor damage is there but it is a budget build and for a driver it's condition is good enough.
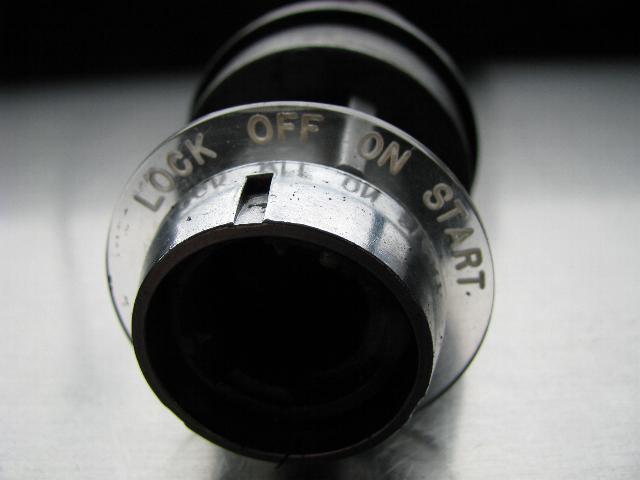
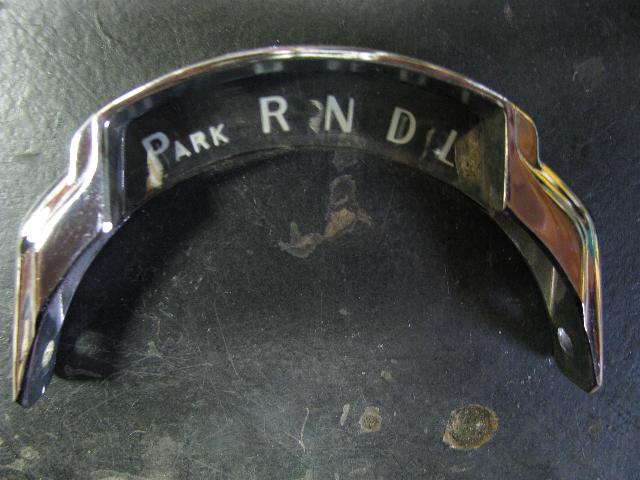
To take out the ignition lock you have to insert the key, turn it counterclockwise, insert e.g. a paperclip in the small hole (to press in a pin with a spring behind it, you can feel it) and then turn it further counterclockwise and it will come out. It might take some wiggling but it works, after that unscrew the bezel and it’s out.
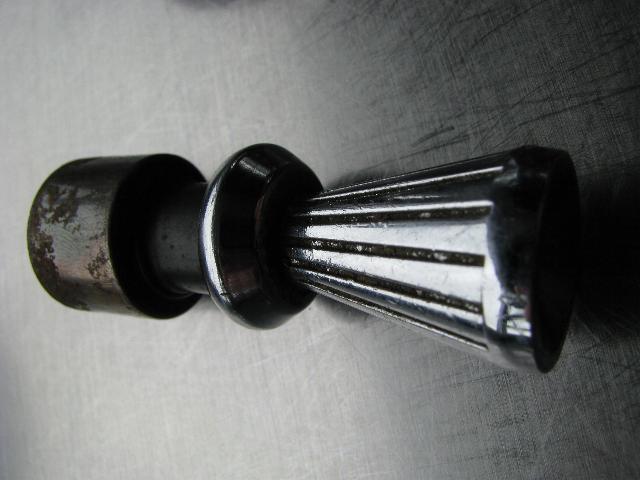
The chrome looked bad but after some cleaning with fine steel wool it looked nice again. Of course it is not new but good enough for a budget build. The cigarette lighter is not finished in the picture….when I saw it I realized I forgot to clean the lower laying parts where dirt accumulated but it is clean now.
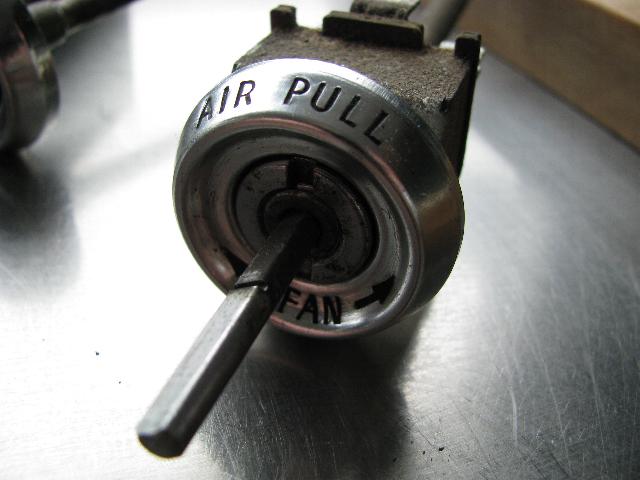
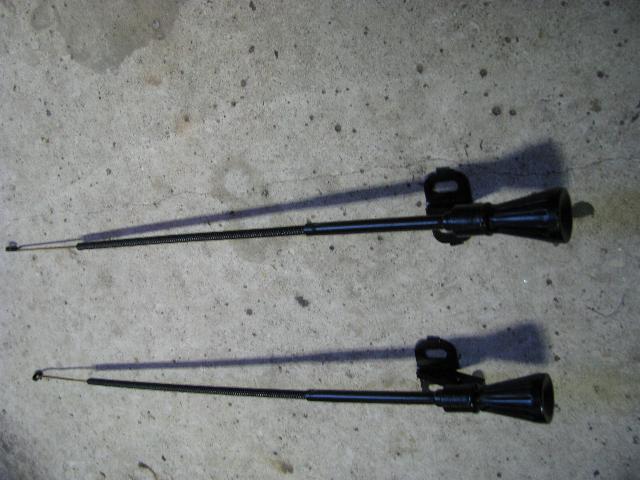
The fresh air control cables were also cleaned and the metal given a quick coat of black paint.
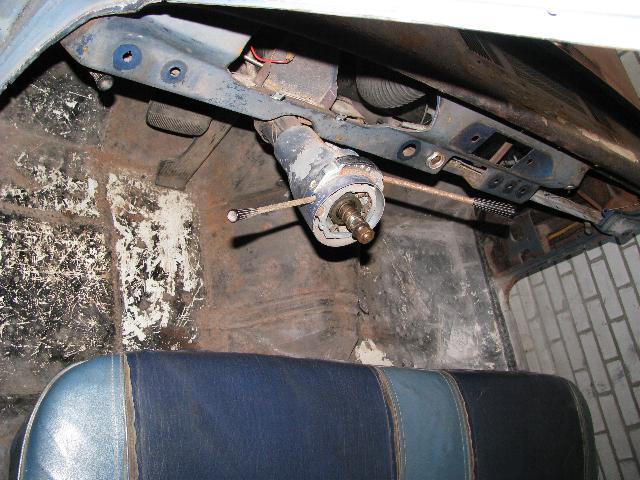
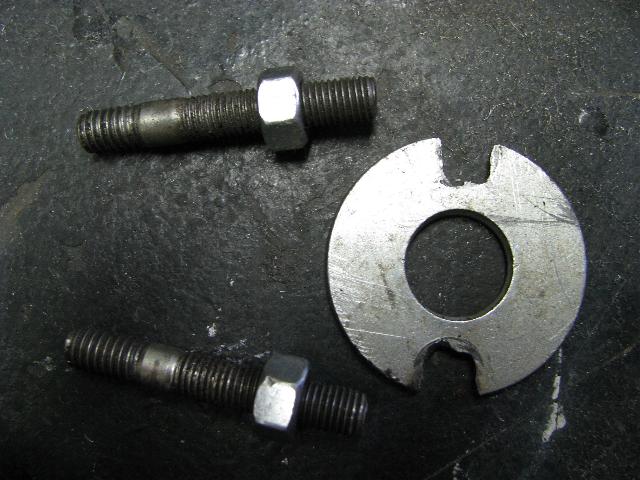
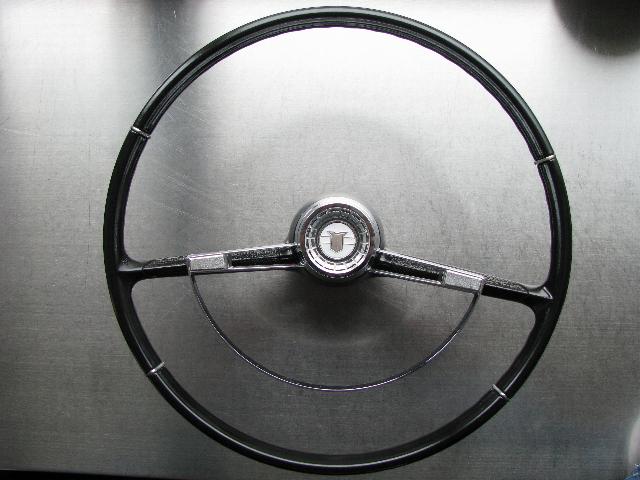
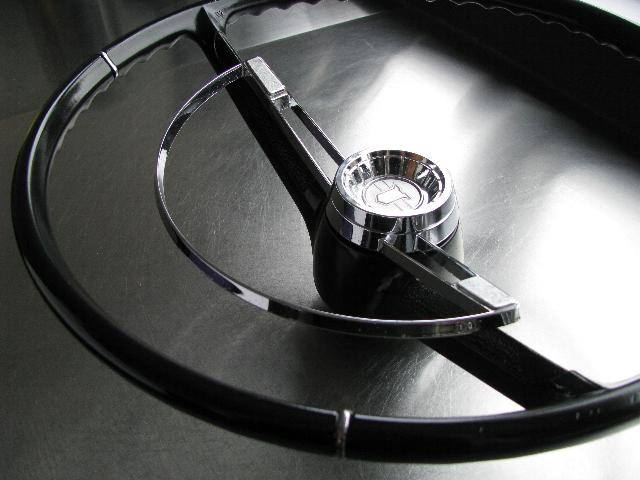
I loosened the nut on the steering shaft to take off the steering wheel but it was stuck solid…. I needed a puller but don’t have one so I used my spare parts and got it done. I used 2 carb studs which I screwed in the steering wheel (same thread size), took a large/thick washer and with the angle grinder took out 2 parts just enough so the ring would slide over the studs. Then I put the nuts on the studs and slowly tightened them and the wheel popped loose.
I cleaned and sanded the steering wheel and painted it black, followed by some coats of clear.
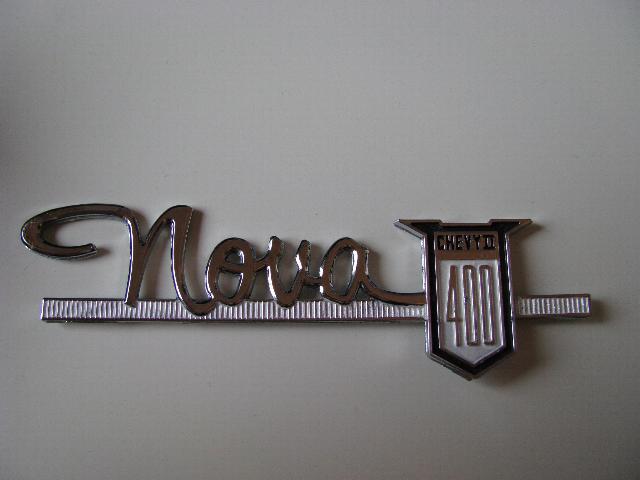
The glove box door had a logo on it and I found it was sort of rivited on. I drilled it carefully from the back and got it off pretty easily. The logo was also covered in paint and dirt but after some cleaning with steel whool it looked like this:

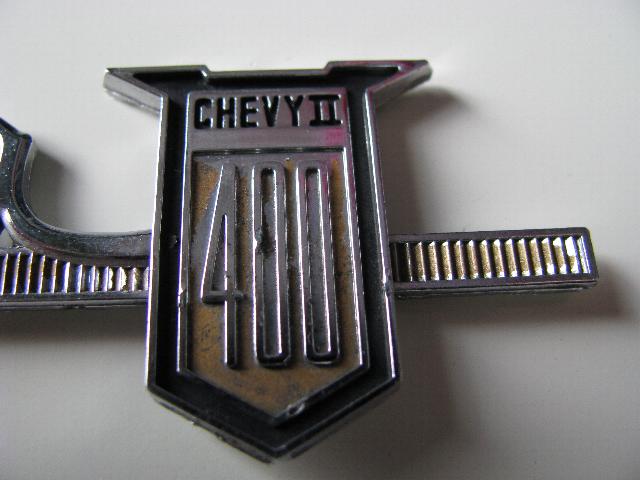
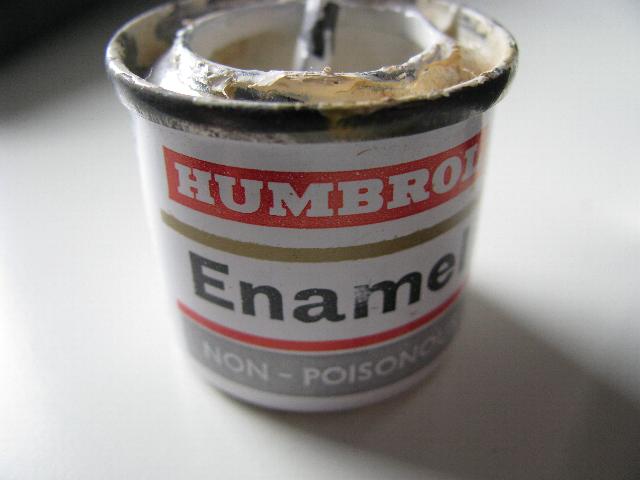
Then I used some enamel paint from my model building parts box fo till in the lower parts.
When the paint dried I scuffed the high parts with steel whool again and it looks nice again.
I will probably attach it with some contact glue or double sided tape once the car is painted.
It is nice to see how parts start looking good again with just some cleaning, paint and a lot of elbow grease. Another batch of parts done and on to the next job.
You can reach me by e-mail at: pro-touring @ hotmail .com