My Camaro
page 44
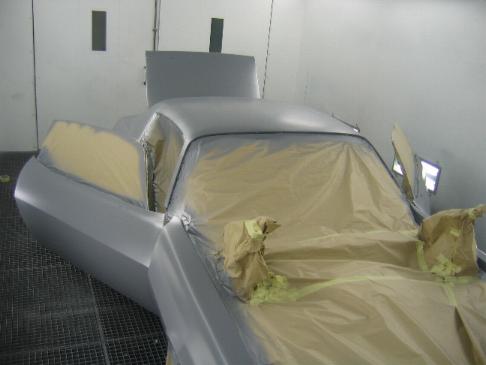
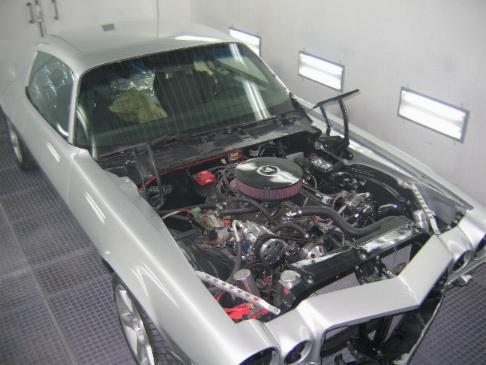
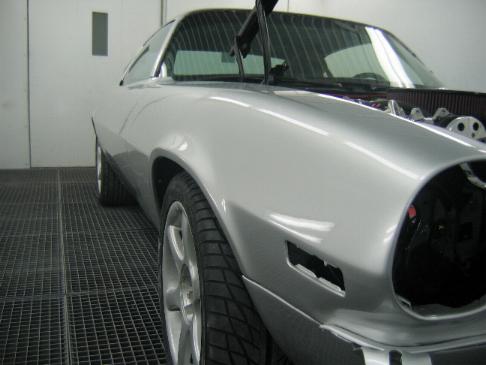
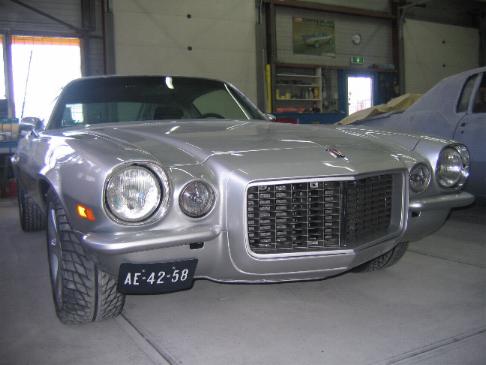
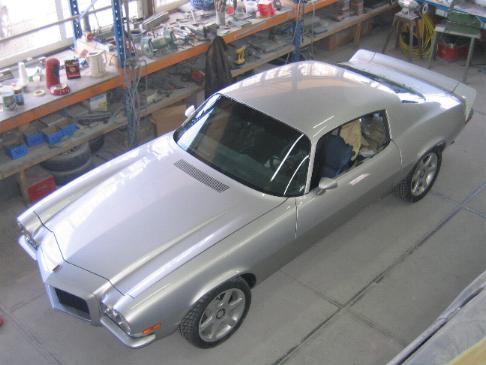
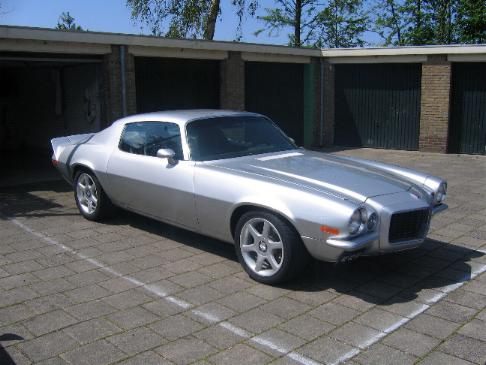
Status May/June 2008, PAINTED!

It is my first US car and a second generation Camaro and it translates to first second, the time you have to make an impression……

(the yellow one is the new logo, click on any of the two to visit his homepage)
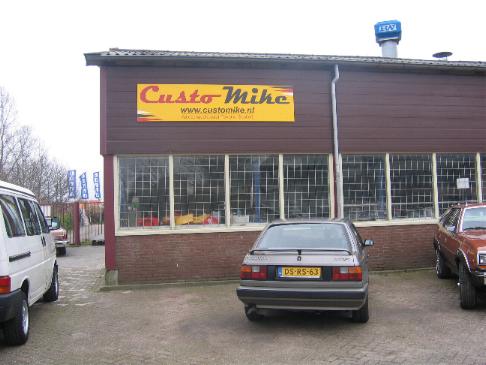
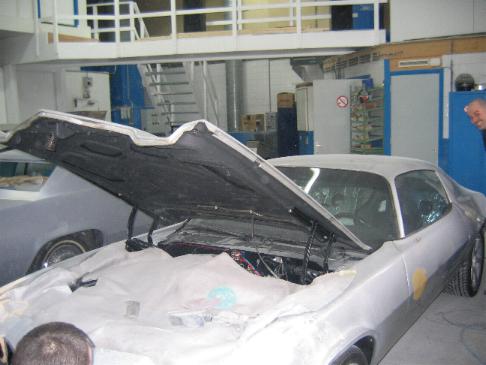
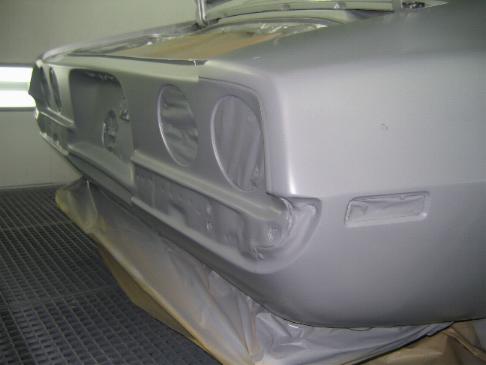
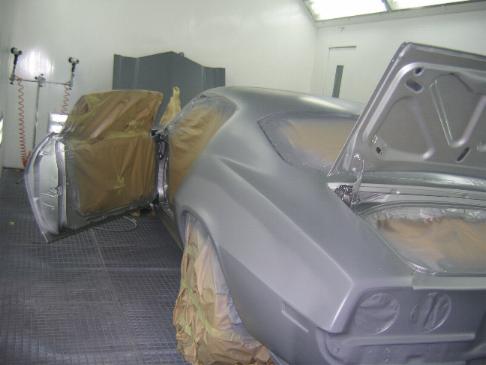
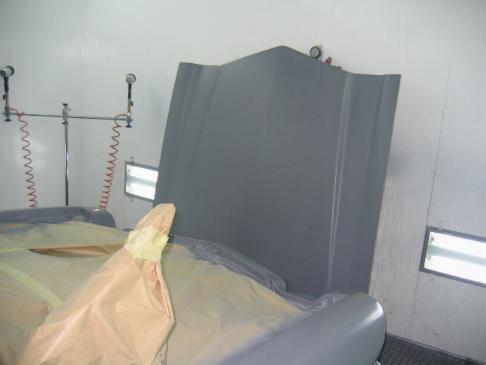
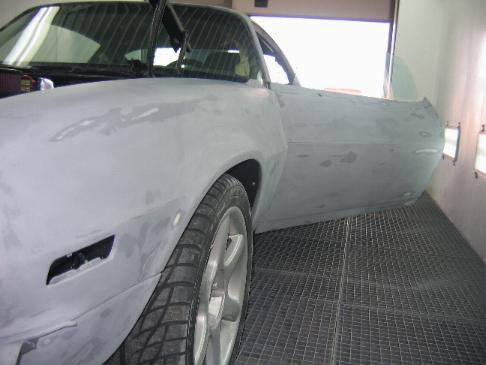
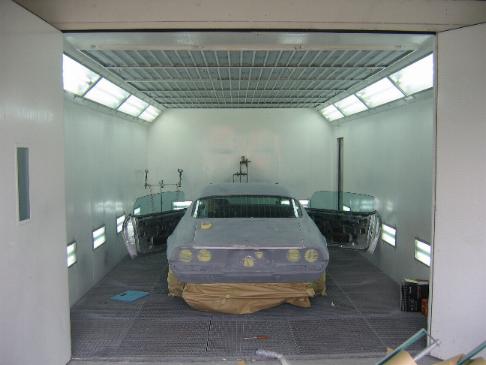
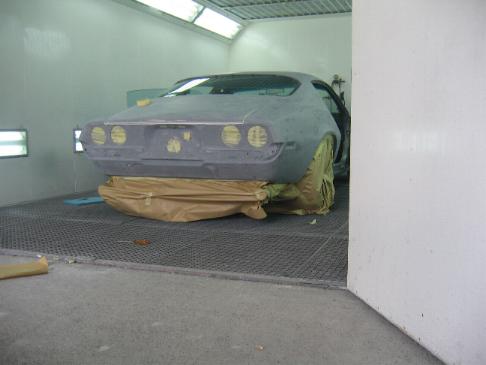
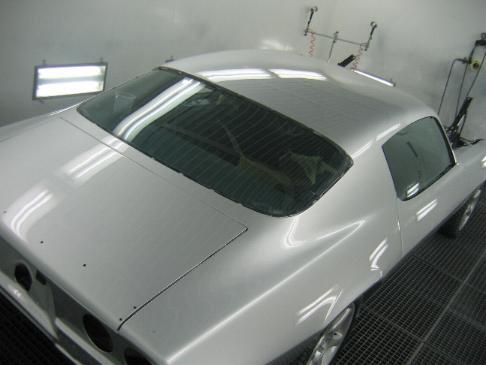
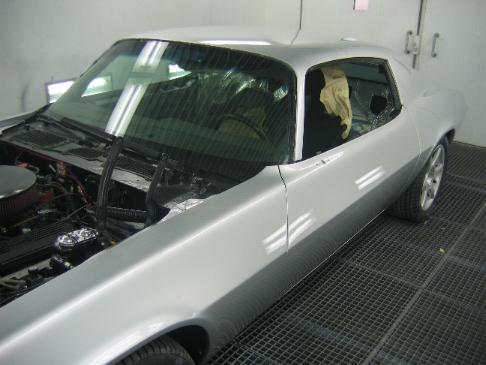
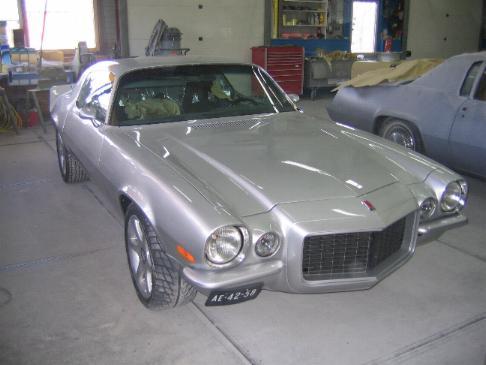
It has been a long time since the last update, but a lot has happened! After the car was road legal I took it to the painter. I had already reserved a timeslot months ago so he could plan my car in in his schedule which prevented a long waiting time. When you hear all these “paint jail” stories of cars being at a paint shop for months or even years it makes sense to go with someone you trust. Best is to do some research, look at other jobs done by a shop and talk to people who have had their car done there. Make a good agreement of what has to be done and what is incorporated in the price, best is even to put it al on paper. I had my car painted by Customike before and was pleased with the job he did back then. At that time he did not even have a paint cabin and still did a good job, specially considering the price I paid. Now he has a cabin the car looks so much nicer, the paint looks better and the colour is brighter, this has to do with how the metallic lays down. This is due to a controlled situation inside the paint cabin in regards to temperature and moisture and good lighting. Customike earned my trust years ago with the first job and he defenately did not let me down this time! The whole process just took 2 weeks, that is also the advantage of not having your car being a “void hours” project.
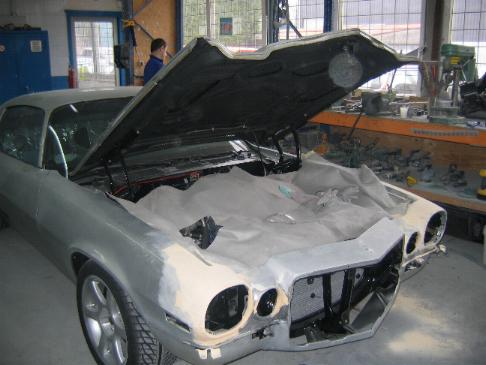
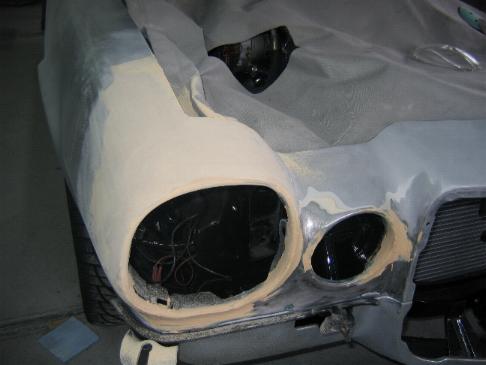
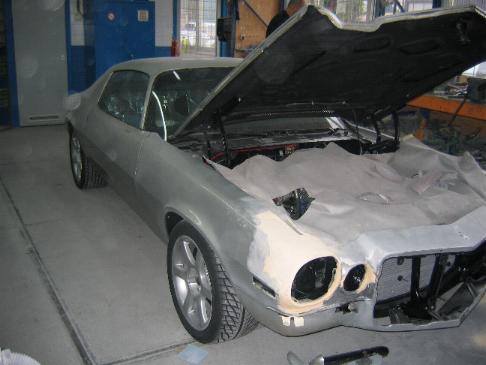
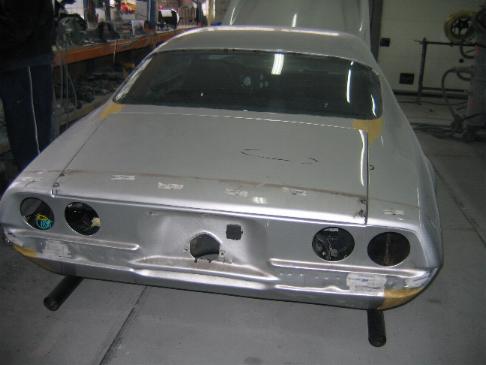
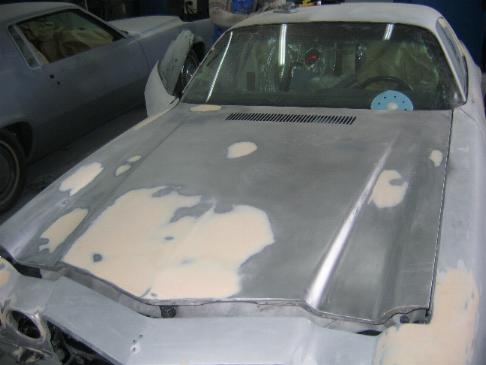
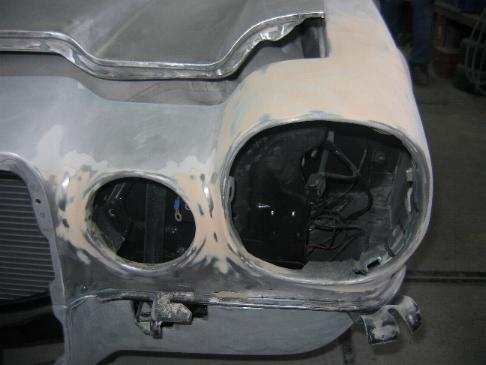
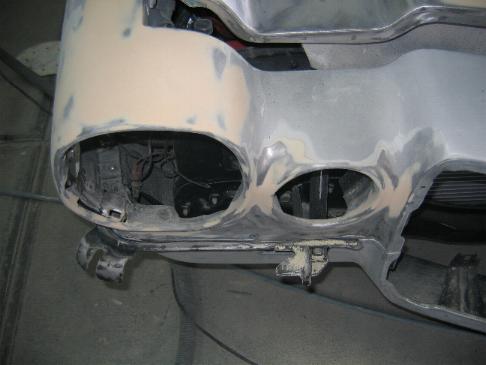
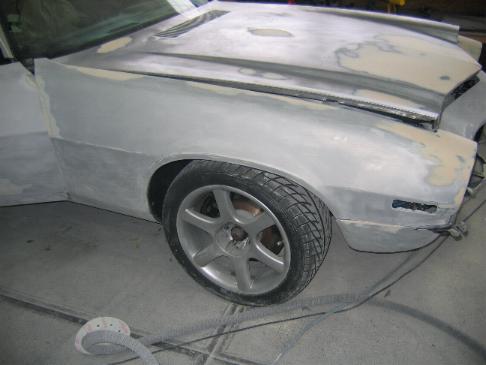
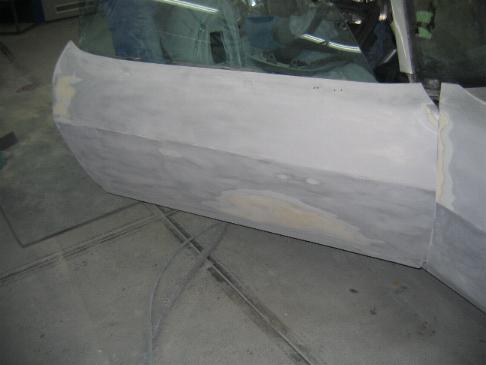
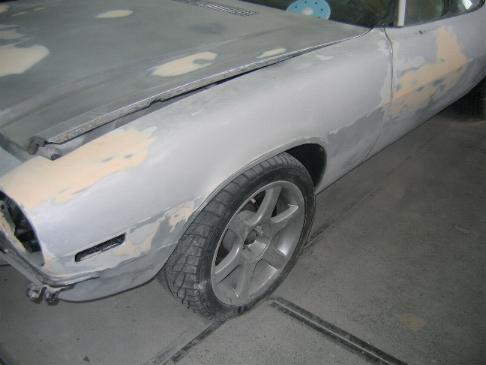
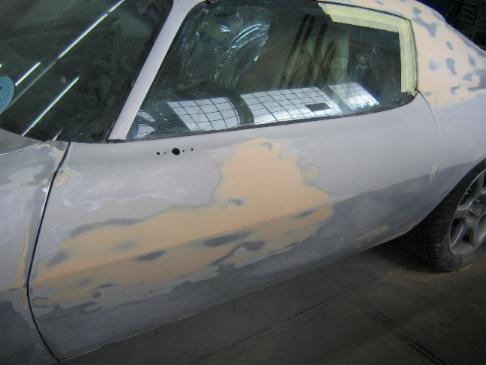
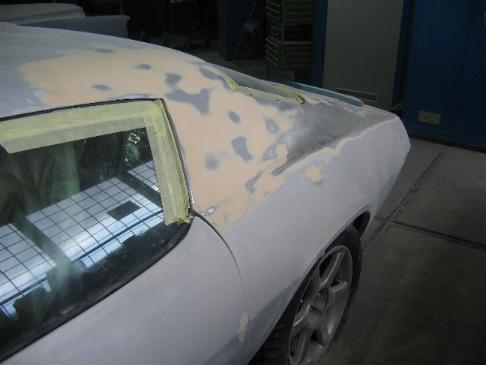
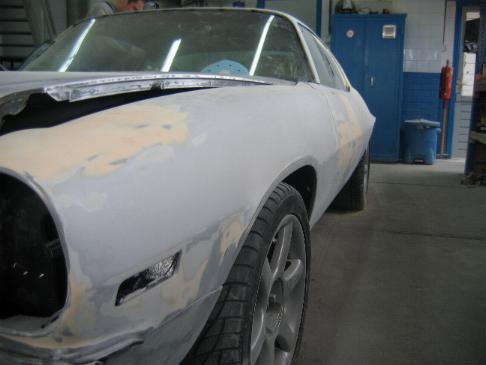
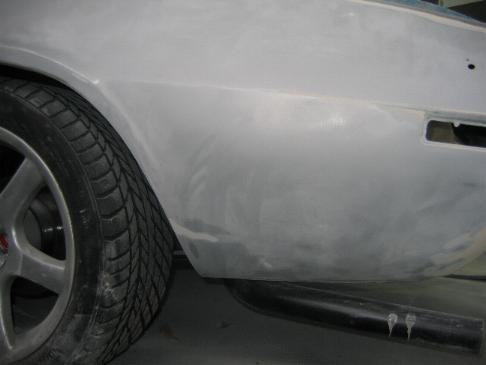
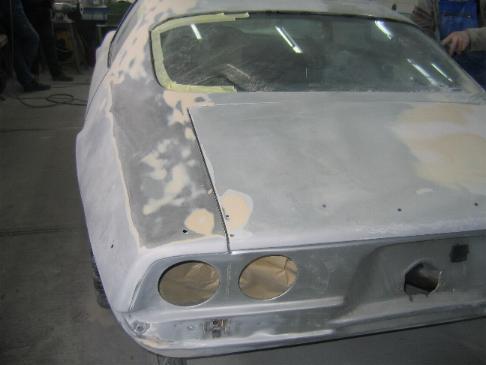
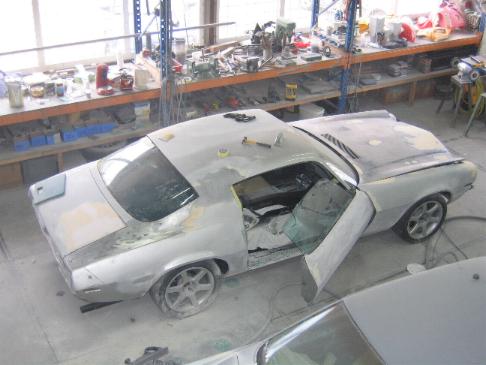
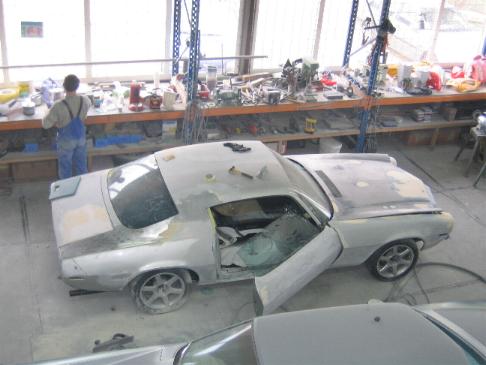
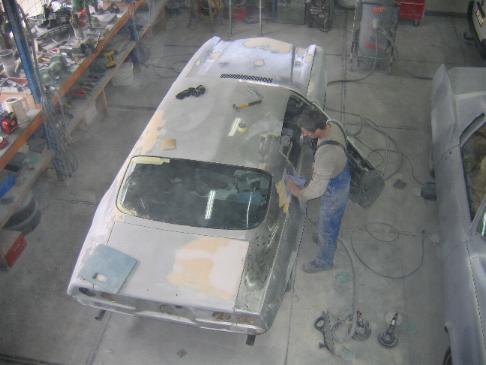
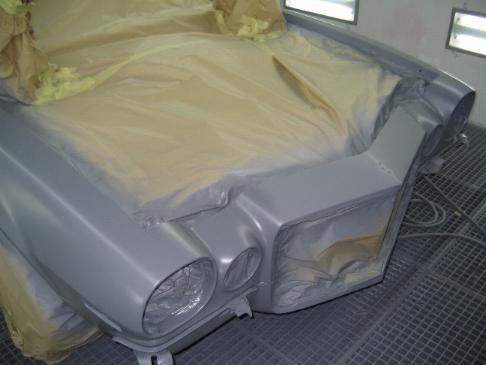
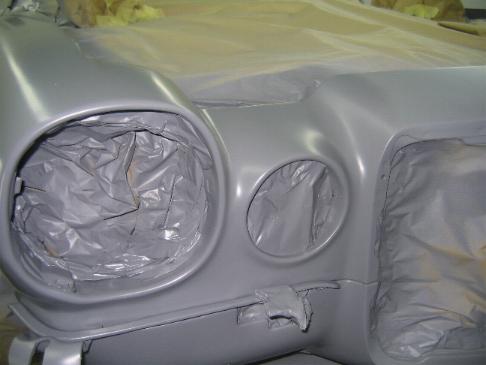
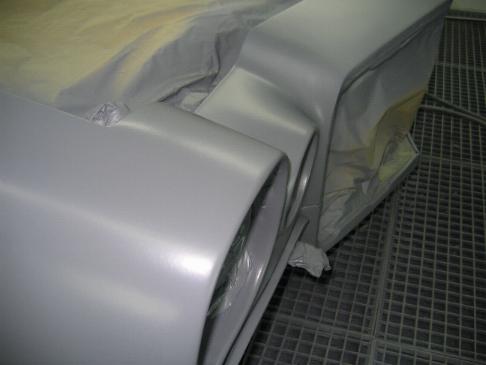
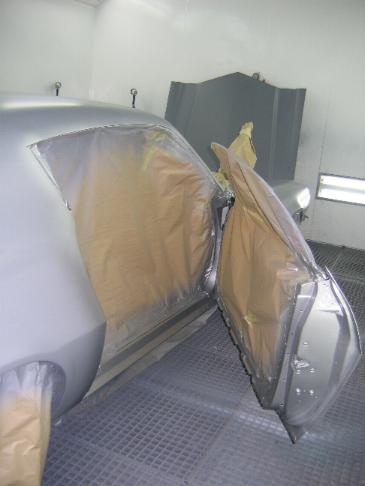
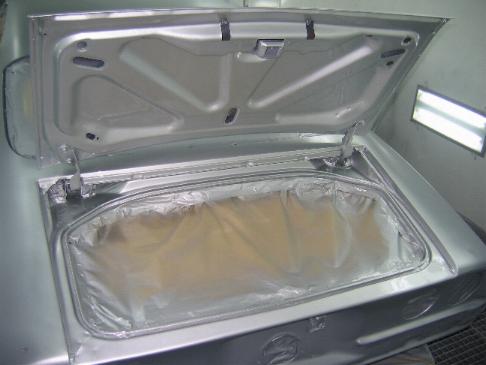
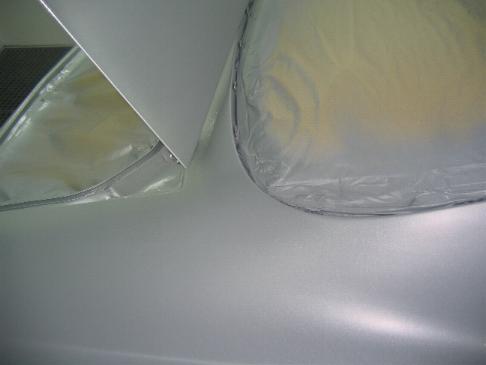
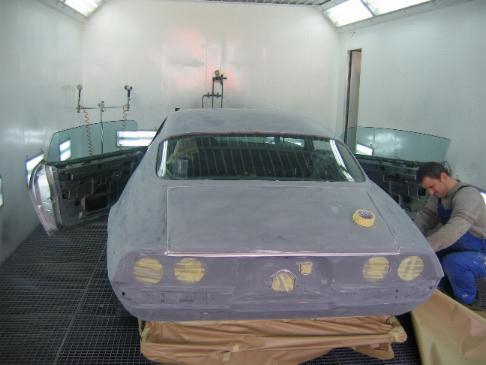
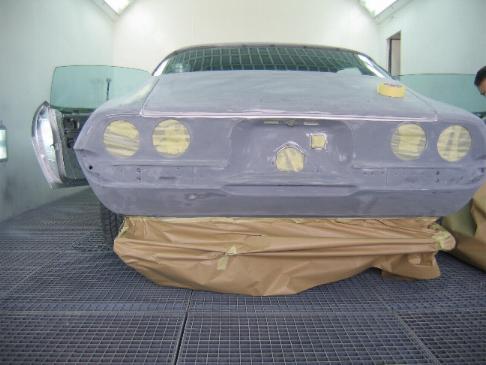
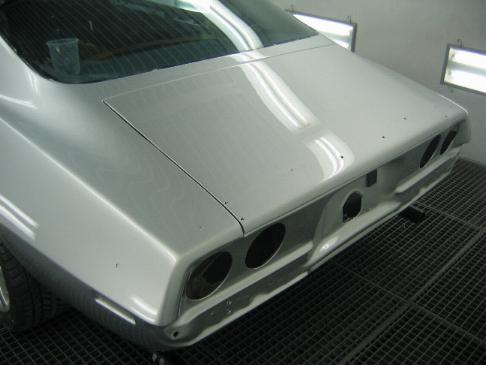
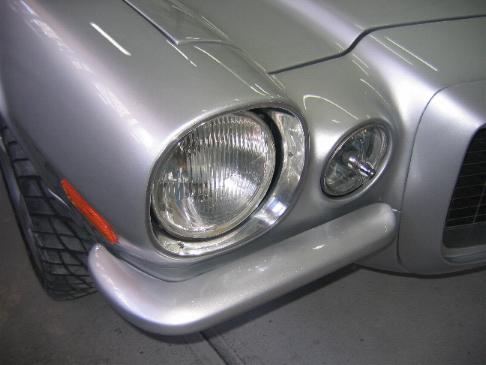
A lot of pics in this update since I want to show the amount of work that goes into a good paintjob and the steps to get from start to finish.
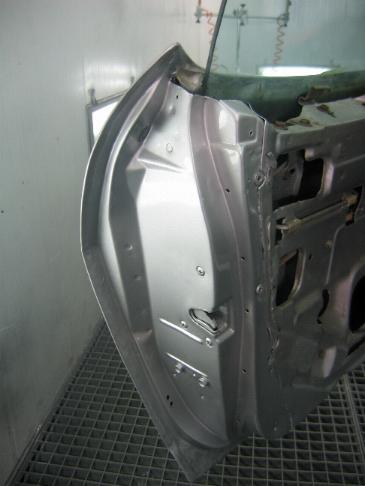
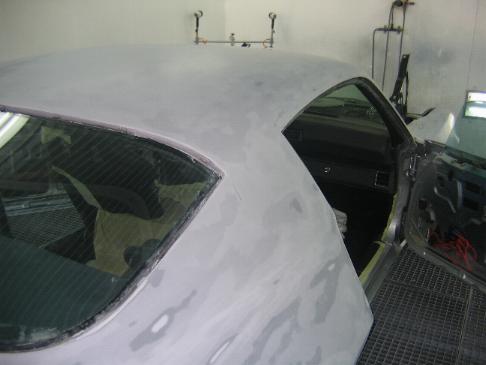
Basically these are the steps: First the car will be cleaned and then sanded down. In my case some panels had to be welded together and some patch panels had to be welded in. I also had some dents that were pulled out. After this the filler is put on (as little as possible) and then sanded down to get the panels really straight. The next step is etch primer so that any bare metal spots are covered. Filler primer is sprayed on to fill scratches and smaller low spots. A guide coat is then sprayed on with a contrasting colour (very thin) so low spots can be seen while block sanding. Block sanding is done a few times going to a finer grit each time until no scratches are visible anymore. Primer is next and also this will be sanded smooth with very fine grit sand paper. Finally it is time for the colour to go on…..this can be a single stage or a 2 stage system. Since I have a metallic colour (silver metallic by Alfa Romeo: crigio chiaro 612) it is a 2 stage paint, first colour and then a clear coat.
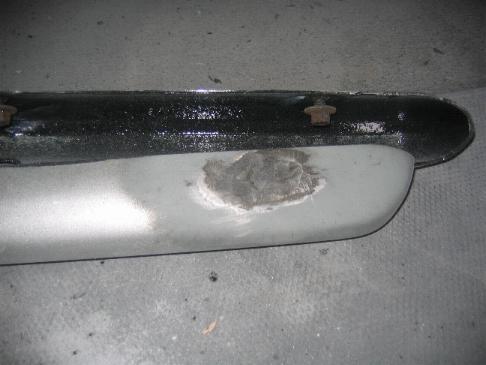
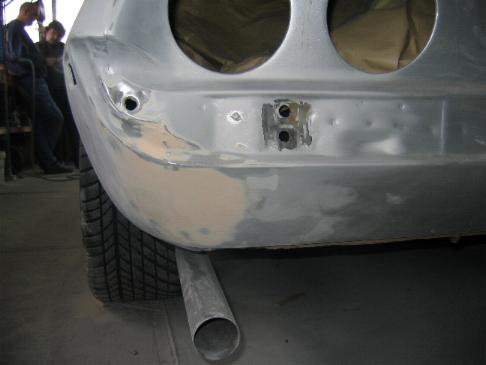
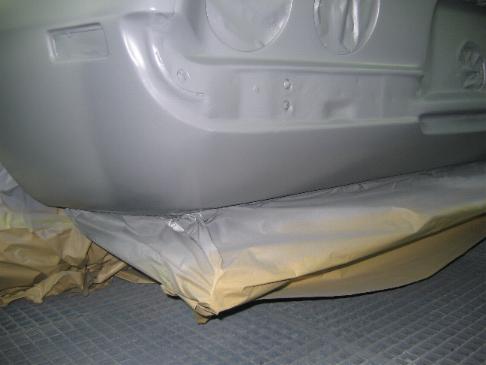
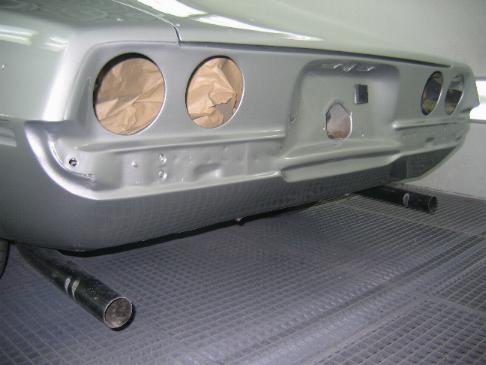

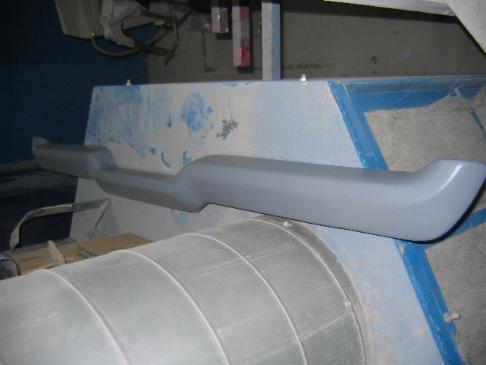
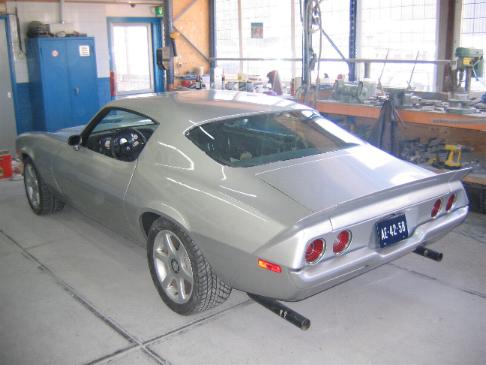
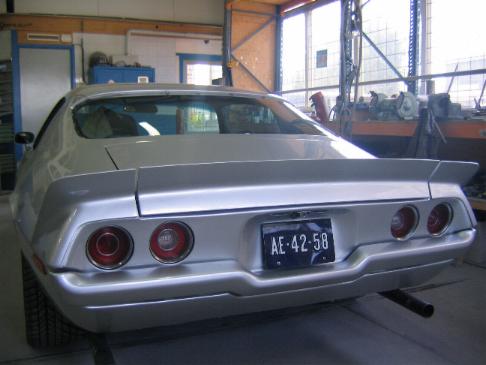
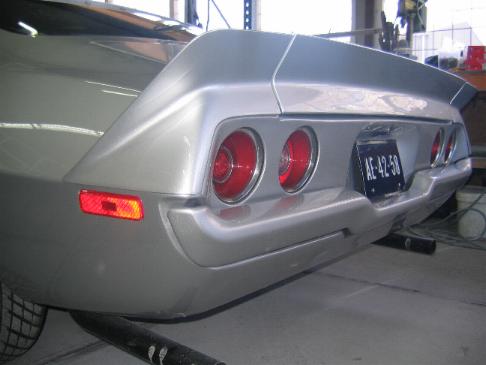
Now the car has been lowered my exhaust was scraping speedbumps which sounds really nasty……something I need to fix quick. I found out there is just 1 point that creates this problem, a U-clamp that sticks out so I need to change it for a different type or have it welded. The rear pipes after the muffler were really long but it never bothered me before. Maybe because the car now is nicer, smoother and lower these came to my attention (in a bad way), it almost looked like a wheel barrow . Now they are short, hardly visable and end just after the rear wheels.
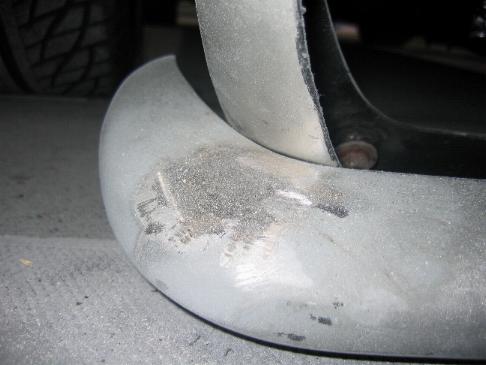
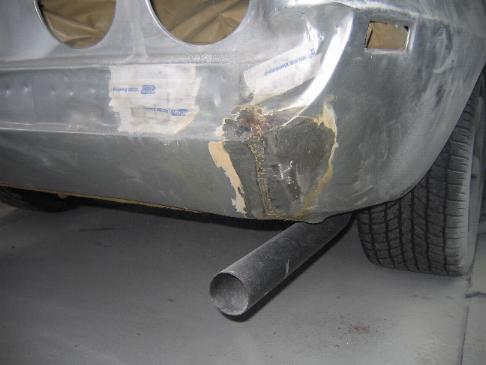
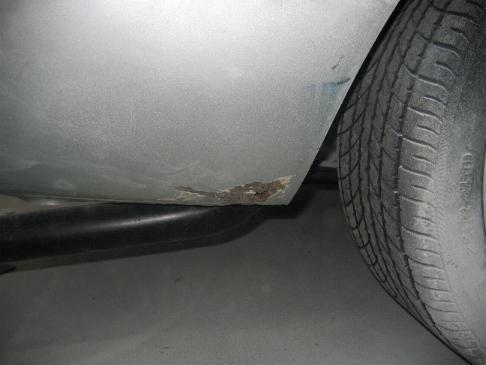
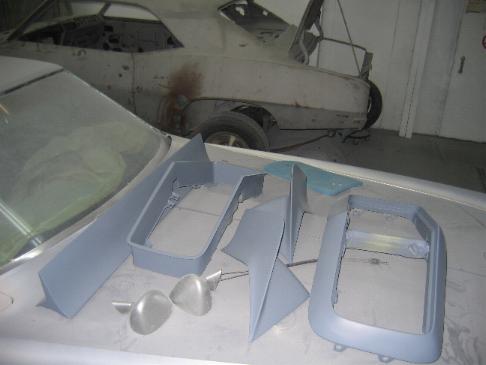
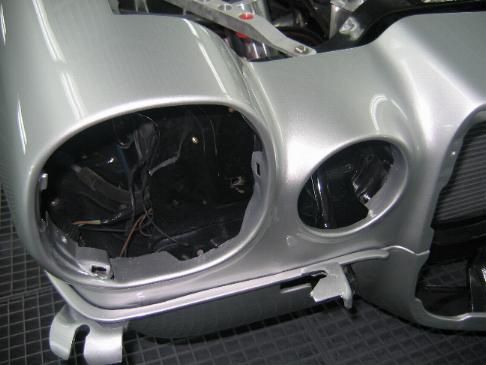
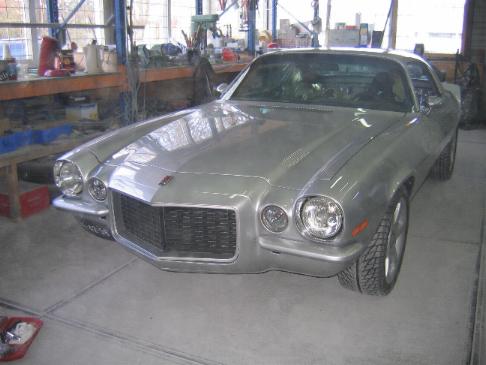
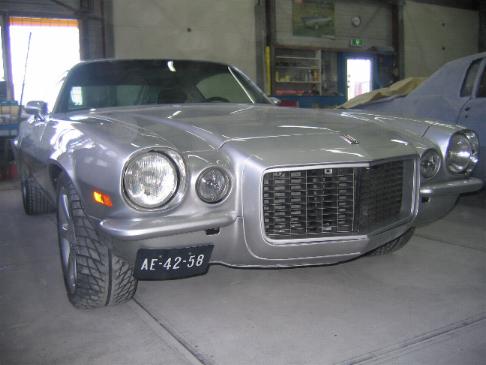
I sprayed the rear inner fenders with a black rubberized coating to protect them. The part where the rocker panels are welded to the floor didn’t look real nice so I taped off the rockers and also sprayed the black coating on. Now it is hardly visible anymore, it blends in with the dark underside. The grille insert (which is painted body color in my case) has mounting tabs for the grilles. Because of the bright color they were very visible when looking at the grill so I painted them black, problem solved. The horn was was a bit rusty as was it’s bracket, new coat of paint made it look nice again. I installed a tank level sender and connected it to the meter so now I know how when it is time to go for a refill…..which is very often… Probably some tuning has to be done and hopefully I can get a little better MPG.
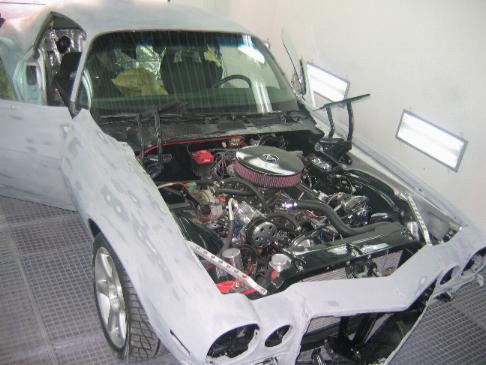
I also made a connection for the PCV valve on the intake manifold. Usually putting 2 breathers in the valve covers will do but then you will always have a little bit of smoke coming from under the hood, a PCV valve will solve that. I bought a nice billit breather/PCV combo which looks better then the chrome stuff.
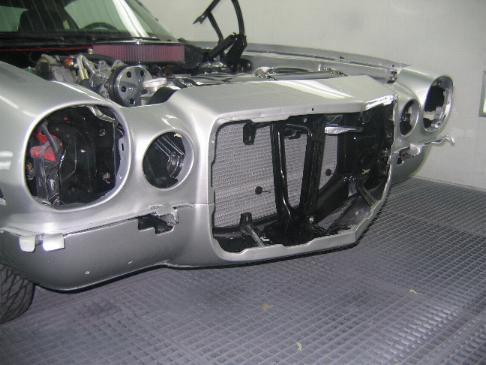
The cooling was not up to par….the two 12” fans should be up to the job but when mounted directly on the radiator I calculated they actually just cover half of the radiator which is not enough. Best solution is to have/make a fan shroud to be sure the air is drawn through the whole radiator. I decided to go to the junkyard and find a shroud that would fit my radiator. After a lot of searching and measuring I finally found a set that does the job. It has 2 fans, 1 a bit larger then the other and it has rubber flaps which will let the wind pass when driving. I only had to make 2 small brackets on the bottom, the top is held by the original radiator top cover. Now everything works perfectly and the temperature doesn’t creep up anymore.
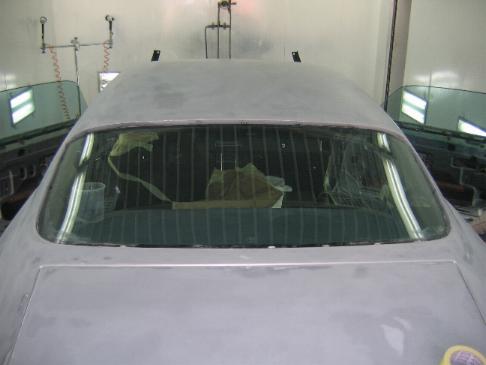
My rear window has some scratches in it which I will try to polish out. Because of that I left off the moulding, if the scratches will not come out I will replace the glass. I had to re-polish the mouldings since they went dull over the years. The top part was a bit damaged but I had a spare set with a better condition one. This one had a dent that I carefully tapped back into shape from the rear side. After that I sanded the anodizing off and kept on going till it was completely smooth. Last a small session on the buffing wheel and it looks better than new.
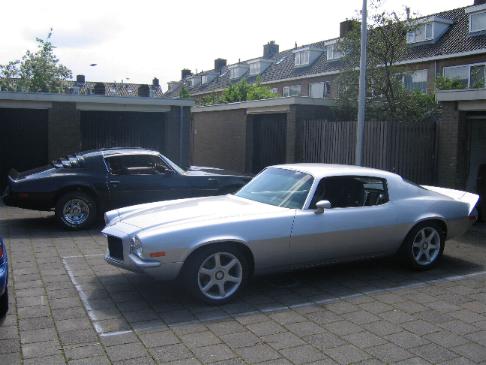

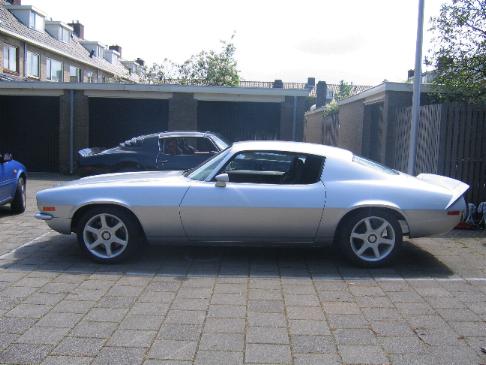

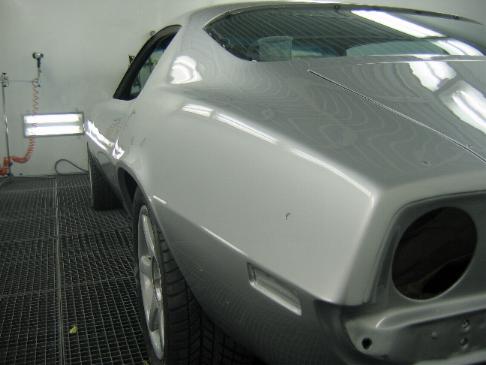
The Firebird in the pics is my friend Michel's car. These are the latest pics I have sofar, made on the day we took it out for the first real test drive. Michel was kind enough to pick the route with the most speedbumps.......
I will have to make some new pics soon to show the work I did mentioned above.
You can reach me by e-mail at: pro-touring @ hotmail .com