My Camaro
page 41
Status november 2007

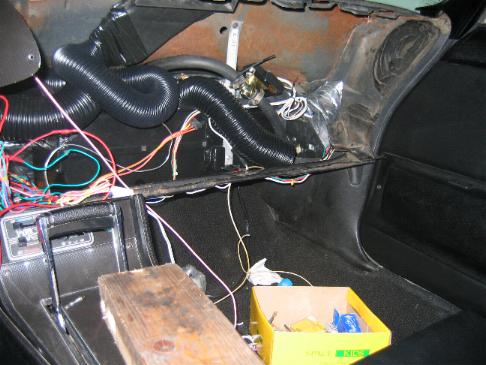
The wiring is coming along pretty good, I made an earth point for all under dash grounds to be mounted to. I also mounted the center console and connected all the wiring for the airco control. Still some work to be done before it is finished like the front and rear lights, horn, fans and interior light.
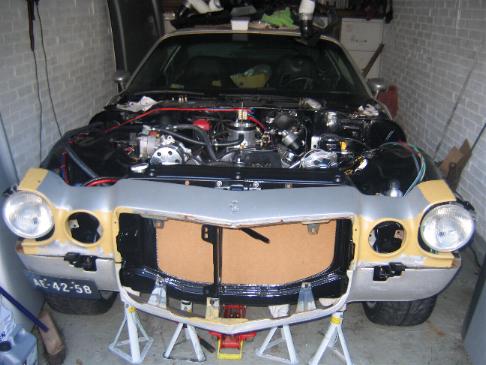
Since I want to get it driving again I mounted the door panels again. When I have it running it is a nice afternoon job to detail these parts, it should not keep me from getting it road worthy so for now I leave it as is.

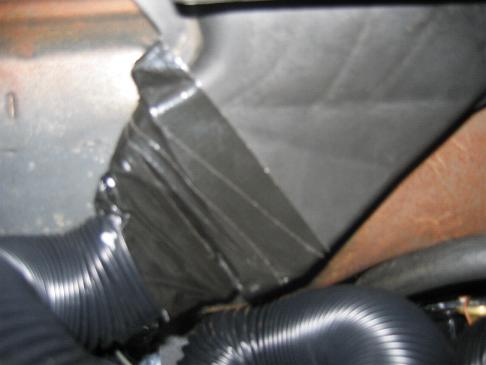
New air duct mounted to original (cut to fit) duct.
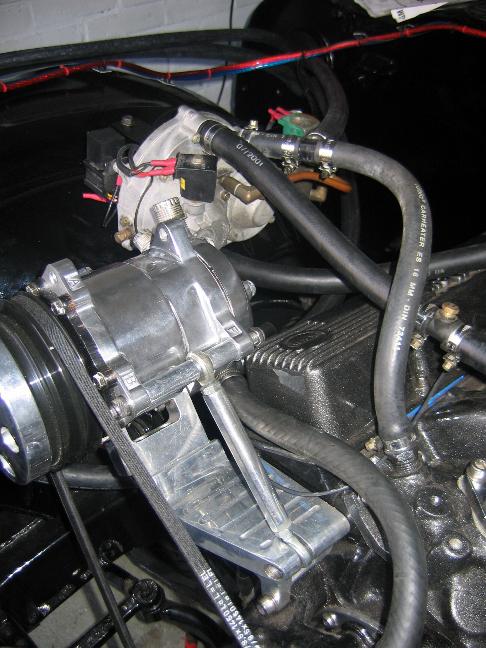
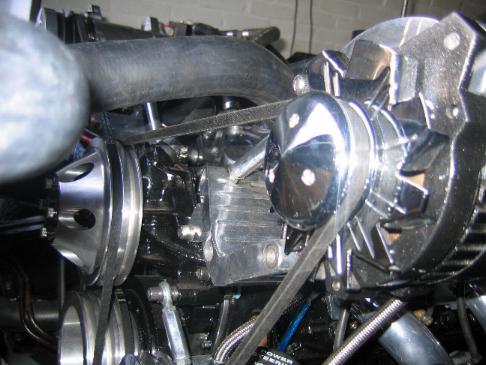
With all the new brackets and pulleys I needed new V-belts too so I measured the length for all 3 to have an approximate number. First is a short one (crank/power steering pump), second is a long one (crank/water pump/AC compressor) and third is the longest (crank/water pump/steering pump/alternator). It took me 3 trips to the store and a small modification to the belt tensioner for the AC compressor to finally get everything to fit. Again all this extra work and effort is the result of changing from original to something custom. If I take all the costs into account for the pulley system and brackets, alternator, steering pump and belts combined with all the time spent on getting it all to work together and trips to stores the price of a Vintage Air Frontrunner kit starts to make sense.

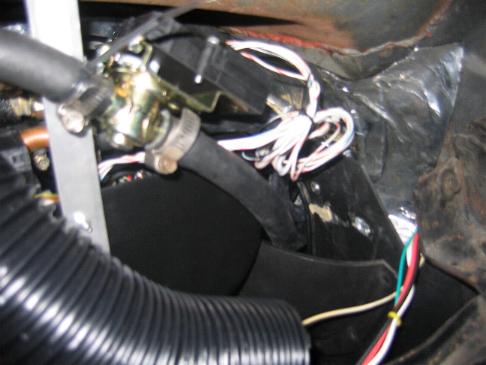
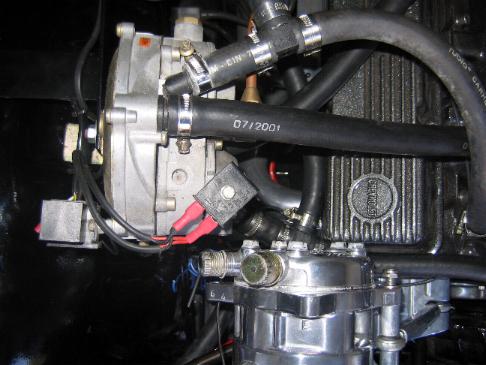
The fittings on the airco hoses that mount to the evaporator case under the dash were crimped on so I could mount them. New heater hose is also in place with the heater control valve mounted under the dash. The heater hoses are cut to length and T-fittings installed near the LPG converter which needs coolant to convert the liquid LPG to gas. All I need now is a handfull of hose clamps to mount it all final and have a watertight system. Finding stainless steel hoseclamps was a royal pain in the rear....I tried several places which took me lots of hours, then found and bought them online just to be told that they didn't have them in stock and I would have to wait for a month. Finally I was helped by a guy from a local forum who had some left over. I got a new upper radiator hose which clears the V-belts so I can almost fill the system with coolant....just another step closer to starting it.
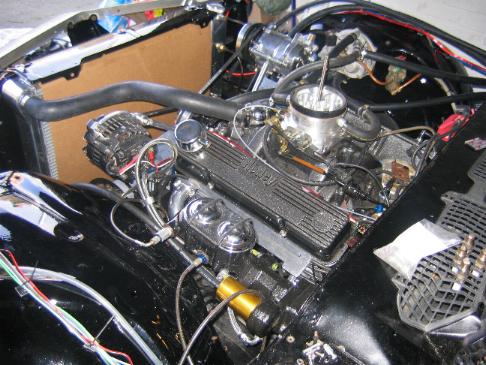
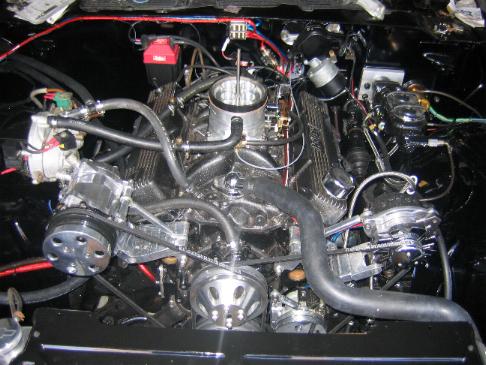
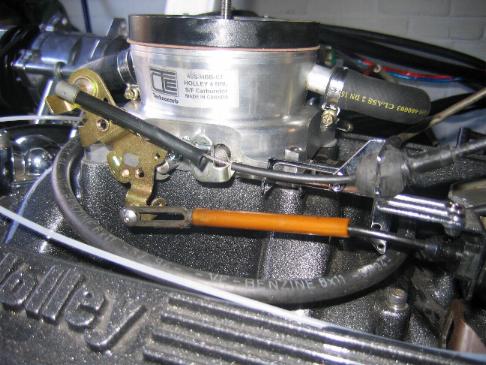
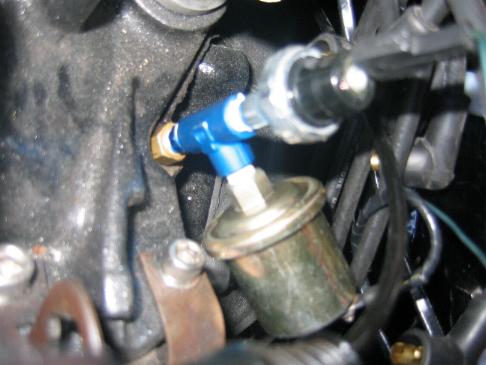
Small details take time! I had no ball head screw for the throttle cable so I picked one from my radio controlled models parts box. It was brass and the size of the ball was good and "clicked" into place only it did not rotate freely since the clamping part of the cable hit the hexagon part of the ball head. I mounted it in my drill, spun it and used a file to modify it to fit, another 15minutes gone but it fits and works great now! Then shimmed out the starter motor and connected it, installed all vacuum fittings to the carb, a vacuum hose to the transmission, a vacuum line to the gauges, mounted the carb, tightened the throttle cable bracket, finished some more wiring, installed the upper radiator hose and tightened the lower, tightened the transmission cooler lines, installed fittings for the oil pressure sender and new pressure switch, temporarely installed the gauges and tested some wiring. Pretty long list of things and it took me a whole day to do them but you can hardly see what has been done. Now it is time to buy some fluids, cause the first start is not too far away anymore.
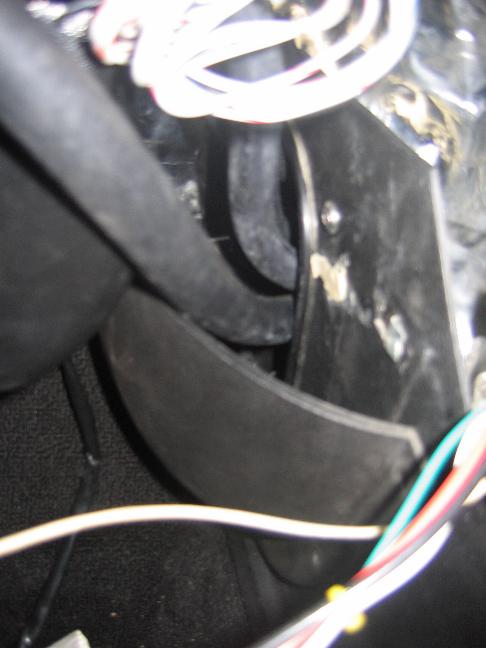
The ducts under the dash are now installed and I tested the vintage air unit. The blower motor is like a small storm blowing on the windshield so I am happy with that. I checked the controls and watched the motor operated heater control valve work. The parts I could check worked and I am sure the AC part will function as planned too.
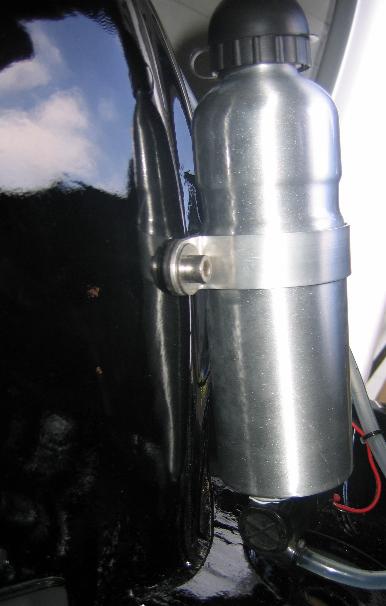
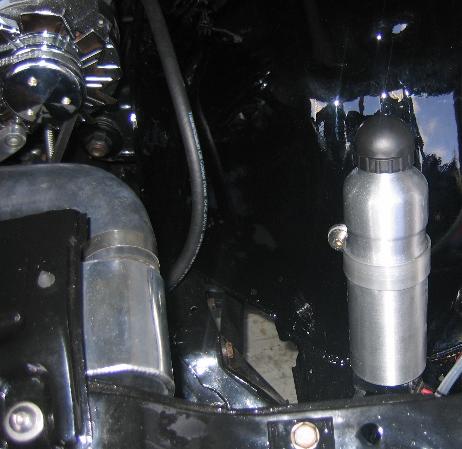
21-10-2007.... Started it!!!! I tightened the headers, mounted a radiator overflow can, installed the ignition and set the approximate timing and it started up the first try! It was great to hear it come to live but it is very loud since the headers are not connected to the rest of the exhaust system yet. After turning the idle screw in a bit and adjusting the timing (by feel) it ran nice at around 700rpm. I had a few small leaks, the connection of the transmission cooler lines to the radiator and a water temp sensor which I didn't tighten but that should all be fixed now.
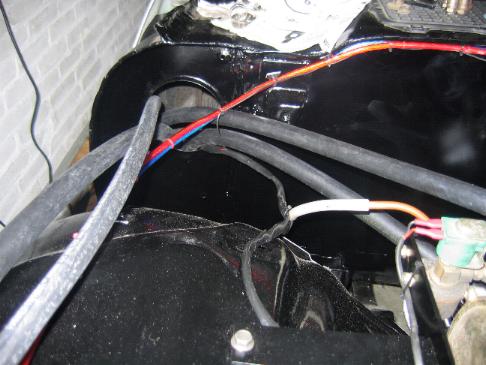
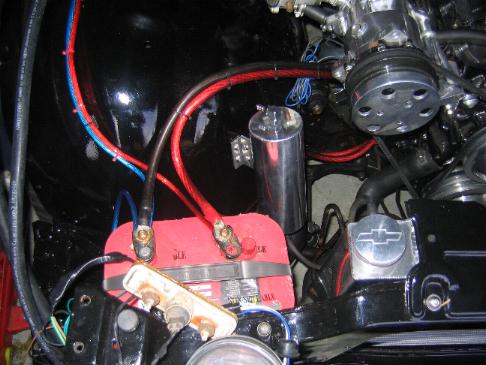
Also the wiring under the hood is nearly finished now. The headlight relays and electric fan control are mounted on the radiator support and wiring connected. I tested the lights and it all works, the fans are not installed yet so that will be tested later. All electric components have their own ground wire and large diameter ground wires are run throughout the car to get a very reliable electric system. The wiring loom is also in the trunk now, I just have to connect everything back there.
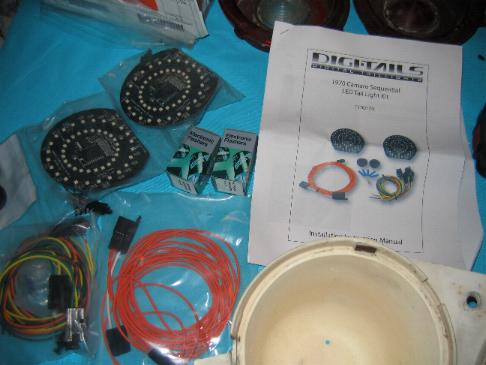
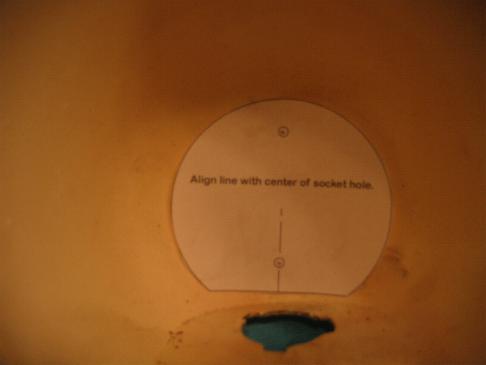
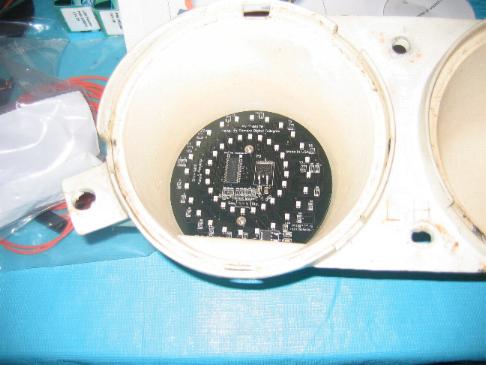
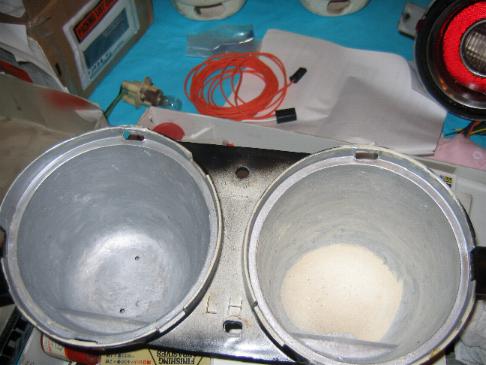
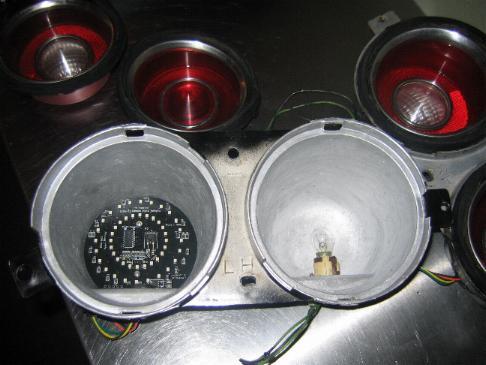
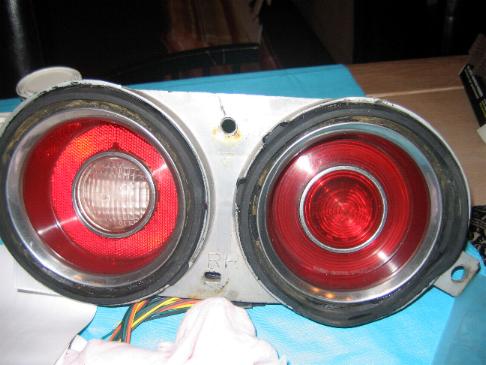
I took out the rear lights and cleaned them up. On one of my original tail light housings (these are white and of a resin like material) the mounting points of the bulb fitting was broken but luckily I had another one on my parts pile which is made of plastic. This one is black and the inside (reflector part) is silver. I painted my original white one black on the outside and silver on the inside so it matches the other. Then I installed my Digitails Sequential LED lights in the housings, this was an easy task and will make the tail lights safer and better to look at. After the lenses were cleaned I reinstalled them with the gaskets I had purchased when I built my car the first time.
The trunk wiring is also finished now and I have working lights all around! I had seen some movies of the tail lights working but now I have seen them work in real life I can tell that the rear lights are very cool to look at.
I hope things will relax a bit at work so I still will be able to meet my goal of finishing it (mechanically) this year....let's see what happens. I did not expect it but it looks like I will have the money for a paint job by the end of the year so getting it finished before spring 2008 appears to be really possible!