My Camaro
page 40
Status september 2007
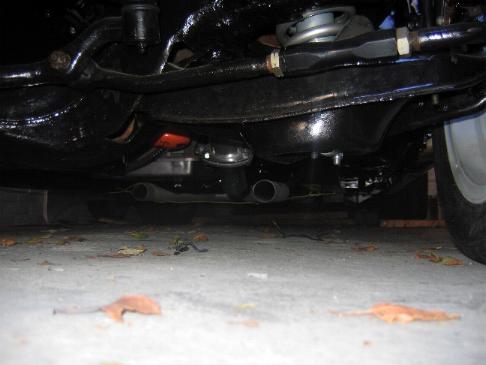
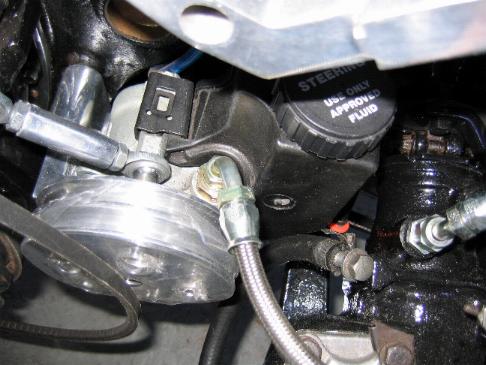
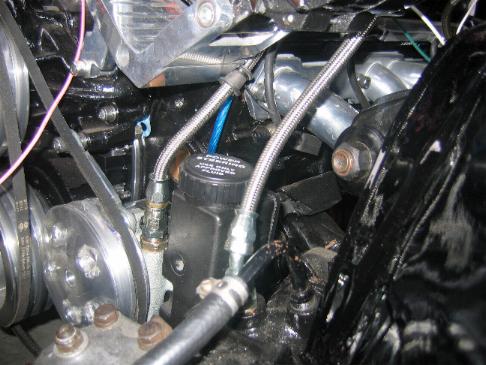
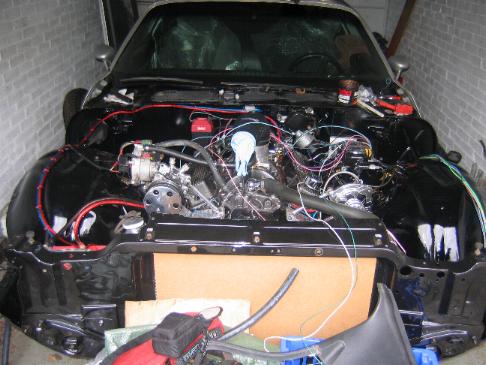
Now it is a roller so I had to make the E-brake and steering functional again so I mounted the steering column and shaft, the brake pedal assembly and the E-brake pedal. Next to go in place was the hydroboost unit with the master cylinder. Today I installed the hydroboost lines with the new adapters. The braided lines are for an original installation but since I changed the pump I also needed to get new fittings for it.
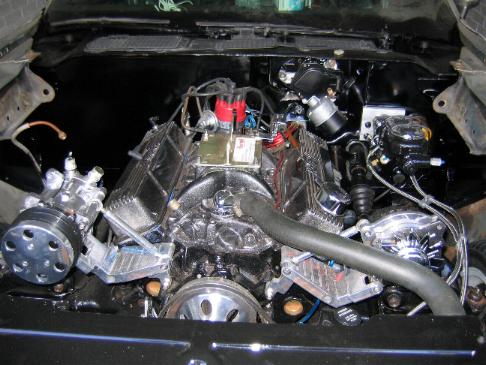

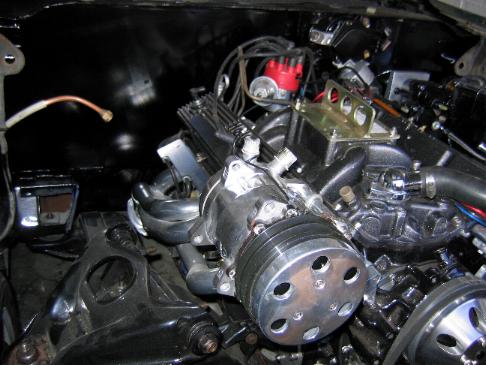
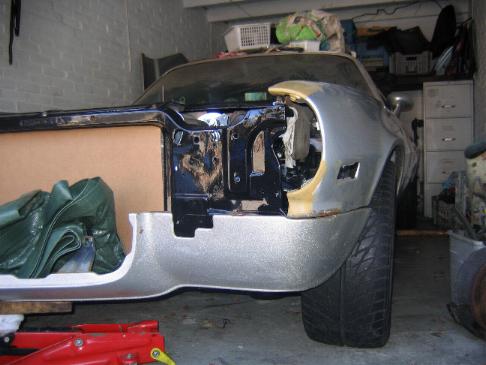
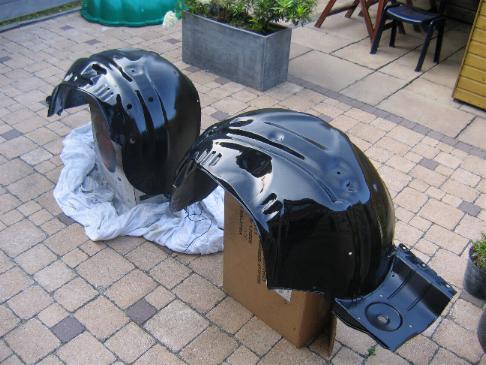
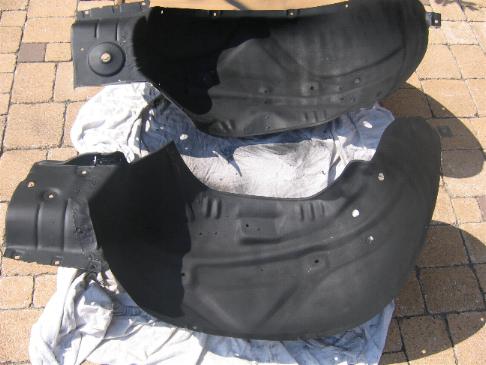
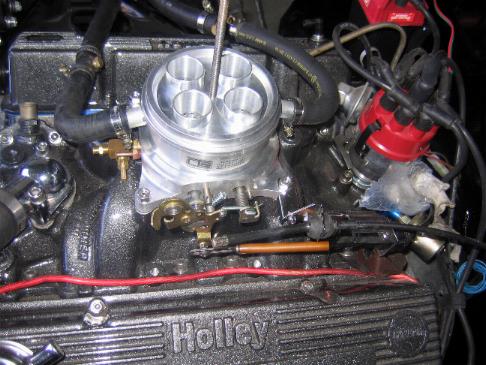
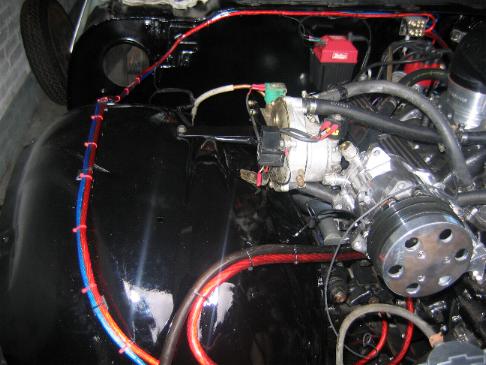
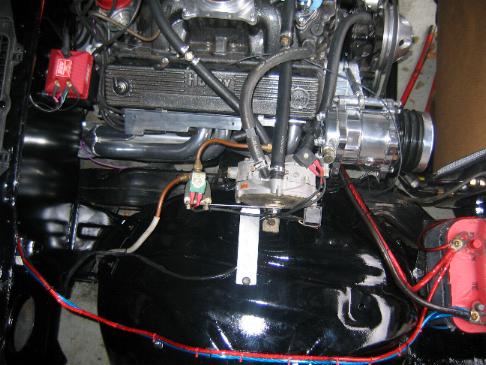
At home I prepared the inner fenders with POR15 followed by undercoating on one and paint with clearcoat (for durability) on the other side. I mounted the OMVL LPG vapourizer back on the fender and installed it on the car. Then the battery tray went on and the Optima battery went in place. The fuel line is connected again to the vapourizer and the vapour hoses between vapourizer and LPG carb are also connected so fuel supply is in place. I might have to add another vapourizer if just one can not supply enough but for now I want it working again so I can test it.
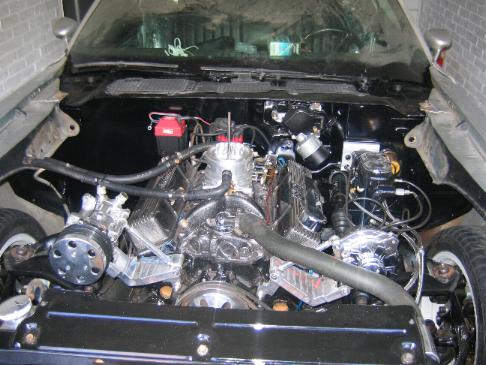
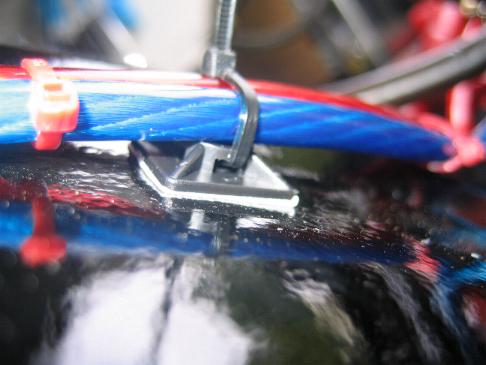
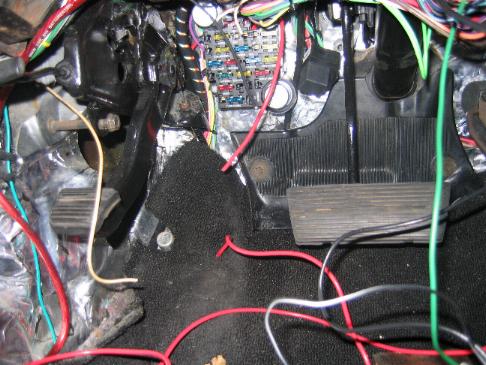
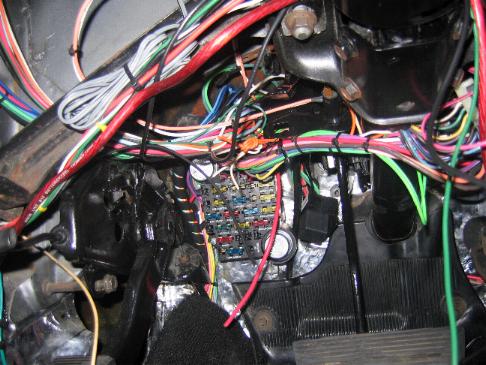
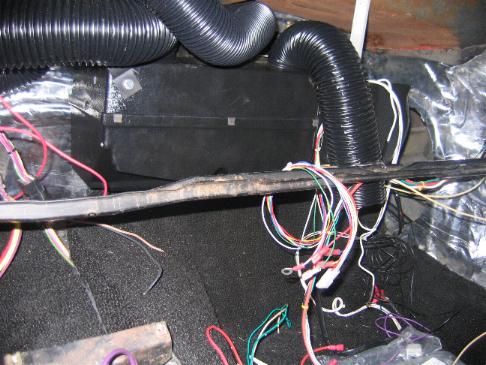
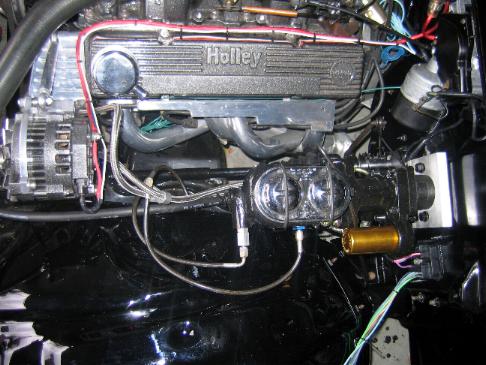
I also started on installing the new wiring. I first mounted the coil to the firewall so the important electrical components were in place. The wiring loom was allready prepared as much as possible but still the install is a big job. The fuse block was the first thing I mounted and I just went on routing each circuit or circuit group after that. I am making extra groundwires so the installation is not depending on body grounds, this prevents problems due to bad ground caused by rust or paint. I like working with the cables used for stereo installs since the look good and offer low resistance. I also got me some gold plated distribution block which I mounted on the firewall for easy access. The old black chrome battery clamps were a bit corroded so I got me some new gold plated ones for a good connection. New sequential LED tail lights came in which I still have to mount, they will provide very bright (safe) lights in the back and look cool. Maybe in a week or 2 I might be able to put power on the electrical circuit and test everything, that will be another major job done then. For securing the wiring I use special mounting "thingies" which are held in place with double sided tape and are meant for use with cable ties. I do not know what they are called...see pic.
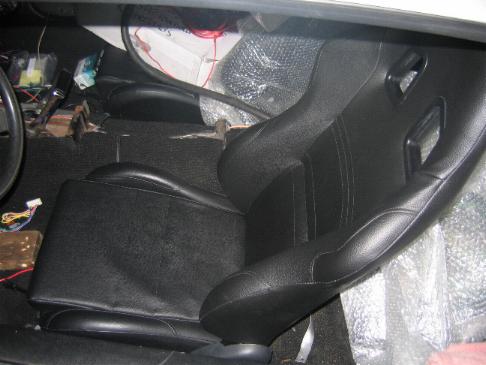
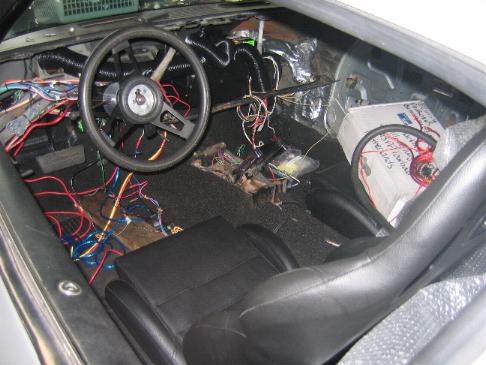
The carpet went back in after the sound dampening mats were in place and then the new seats followed. It sort of resembles a car again now.
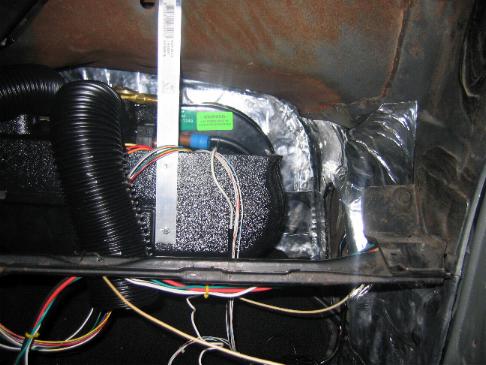
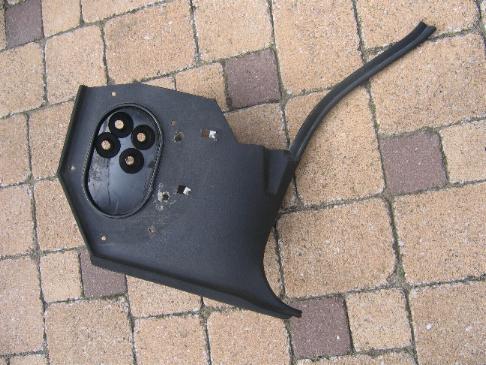
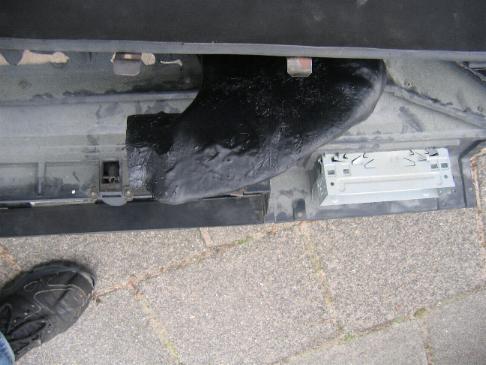
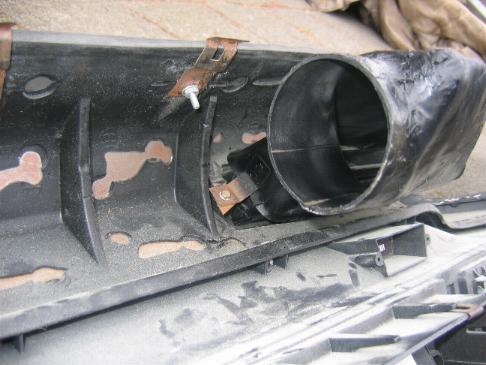
The airco install was next. First the evaporater case needed to be mounted so I made some brackets to put it in place. The air ducts had to be connected to the original outlets so I cut the originals up and used the new outlets supplied with the kit to make a transition to the duct hose. For the dash outlet I cut up the original till there was not much left but the mounting points and one round inlet. I used waterproof sandpaper (since this is pretty rigid) to make some ribs for the new duct and then covered it with fibreglass mat and epoxy. It doesn't look very pretty but it will do wat it has to do: distribute air. The control panel for the Vintage Air unit has a capiliary that has to be inserted into the evaporator case but it is not long enough when the control panel is installed in the lower left part of the dash in place of the original controls. I decided to place the controls in the compartment in the console (under the radio) so the wires and capiliary would be able to reach the evaporator case. The panel just fits so I made a mounting plate out of aluminum and covered it with carbon foil to match the shifter plate and dash. Next to the controls I put in a cigarette lighter. (I do not smoke but need it to charge my cell phone) New heater hoses had to go in since the old ones were either too short or the wrong size. The airco and heater hoses will be routed through the hole in the kickpanel and up through the hole where the original blower motor was mounted. This way the hoses come out behind the fender for a clean and easy routing. Originally a vacuum operated valve was mounted there to let in fresh air. I made a plate that I attached to the plastic "flange" on the kickpanel and installed rubber grommets to seal off the in from the outside.


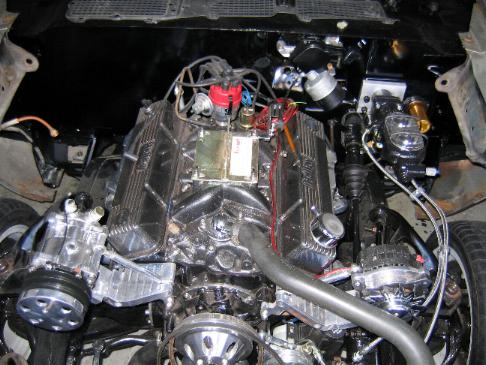
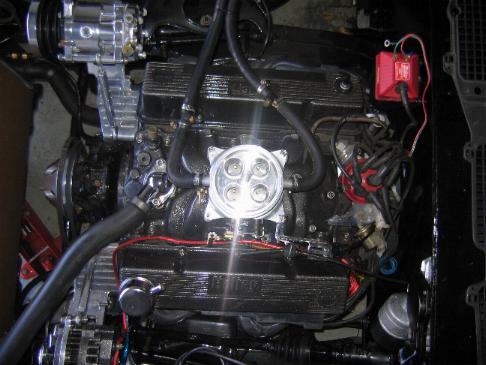
Some final pics of the current status:
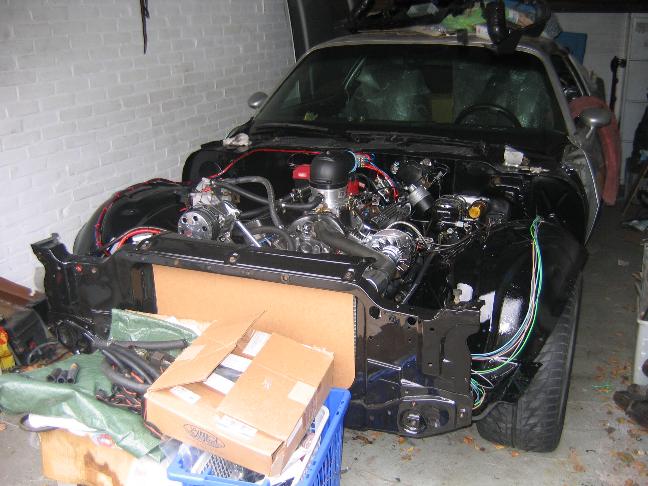
It feels good now the Camaro can stand on it's own wheels again. With the interior coming back together it starts to look and feel like a car again :-).