My Camaro
page 7
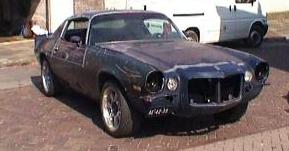
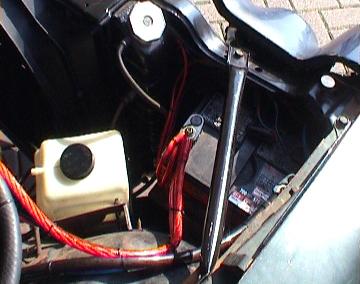
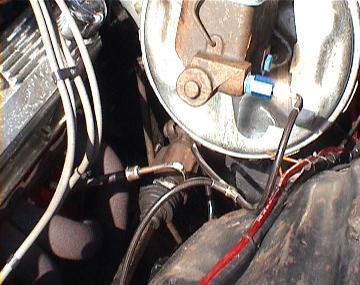
First time it moved after 2 years !!
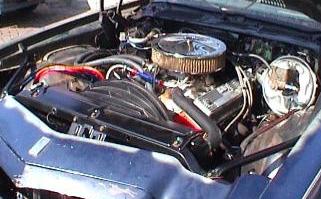
The engine at idle
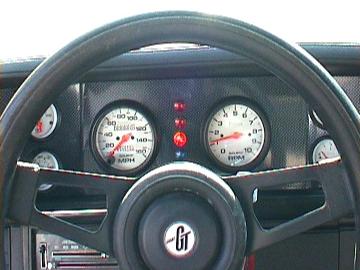
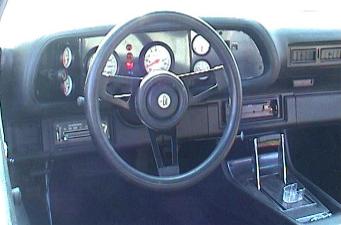
The dash works
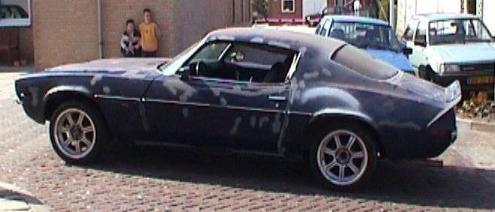
The front wheels will carry 255/40/17 tires and the rear 275/40/17. The tires that came with the wheels are front 245/40/17 and rear 255/40/17 and on the test drive they didn't rub. Only at full steering the tires rub the anti-sway bar so I will have to make a sort of bump stop on the lower A-arm to limit the steering. Also the allignment is probably way off so I have to get the car alligned. The car is not as low as I would like it to be but since it will be a daily driver it's ok. The number of speed bumps I come across every day justifies the ride height...... I also think that after some time when the suspension is properly seated it will be a little lower.
This picture is with the old (sagged) leafsprings.
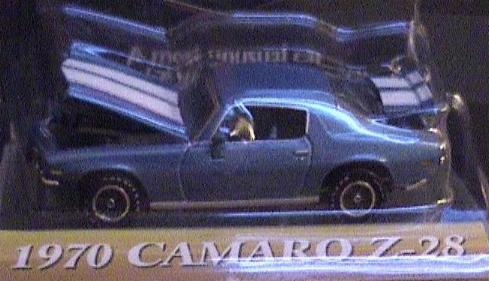
After searching for second generation Camaro (specially 70-73) models for years I recently found these two. Now the second gen. is becoming more popular more models will appear, I think.

I will be going to talk to the painter soon so he can make a quote for the welding/smoothing/painting. Off course he wants to see the car so he knows what has to be done exactly. I hope he will be able to do it on my budget.........