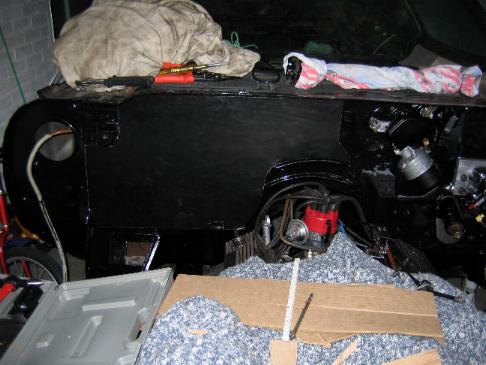
I got me a piece of sheetmetal to make the firewall smooth and started cutting it to size using the cardboard template I made earlier.
When I had the rough shape cut out I trimmed it further in the garage so I could testfit after each cut so I would not take off too much.
Here I found out the way I wanted to make it was not going to give a nice result so I changed it a bit.
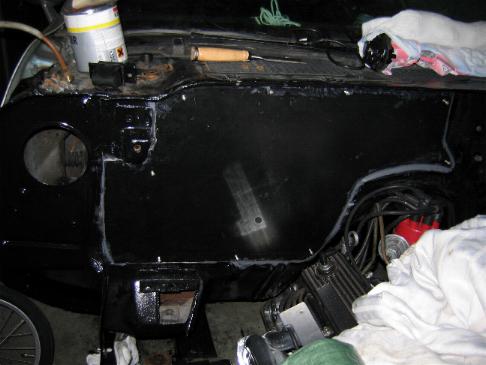
The new plate lies fairly flat on the firewall now.
Since I do not have welding equipment or skills, nor electrical power in my garage (so I could rent a welder) I had to find a way to attach the plate.
I do not like the look of rivets so that option was ruled out.
I chose to glue the plate in place allthough everyone I speak is opposing.
Nowadays airplanes and sportscars are glued together so I do not see a reason not to do it.
I do think preparation of the materials to be glued is important so I sanded the areas to bare metal and degreased it as per instructions.
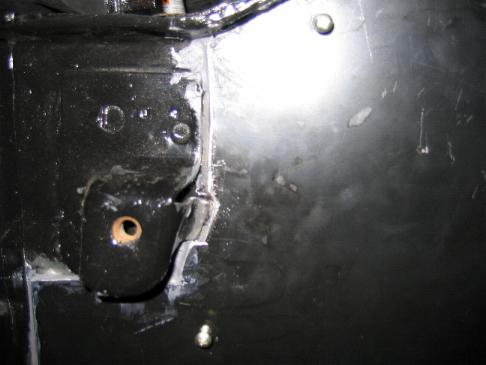
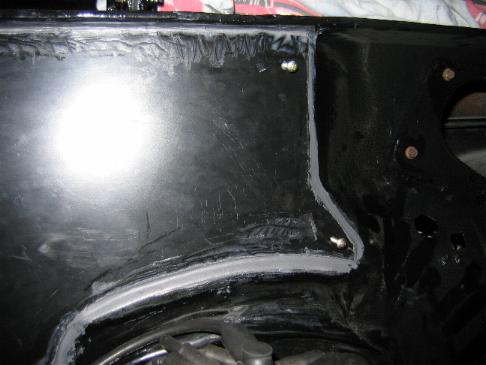
Since the plate is glued flat to the firewall there will not be much mechanical forces applied to it IMO and the contact surface is very large which would spread forces anyways.
I used Bison Kombi Metaal which is a metal filled 2 component epoxy.
According the specs it is chemical resistant, waterproof and can stand temperatures ranging from -60 to +100 degrees Celcius.
It can be drilled, filed and painted and has a filling capacity.
Strength is rated at 180kg/sqcm and the surface I glued is about 1cm wide around the edge of the whole blockoff plate (approx 200cm).
I used screws to secure it to the firewall to allow the glue to dry and reach it's maximum capacity without shifting the plate.
The screws will be removed later and the holes wil be filled using the same epoxy.
To be honest I do not know how it will hold up when I really start using the car but I am confidant this will work.

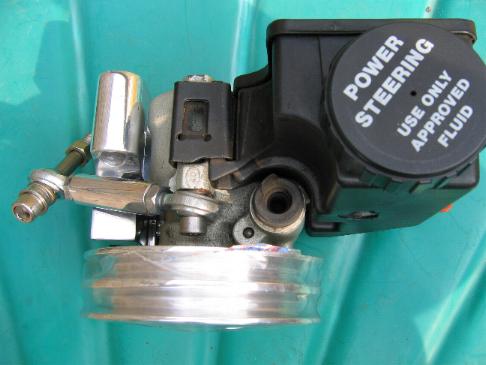
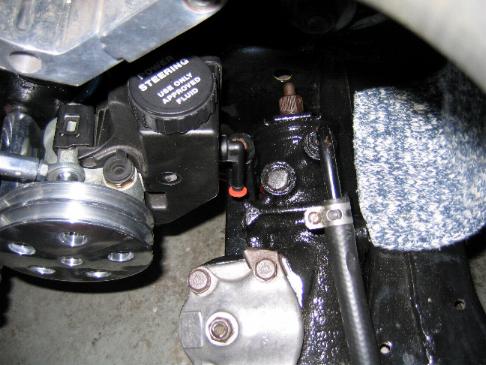
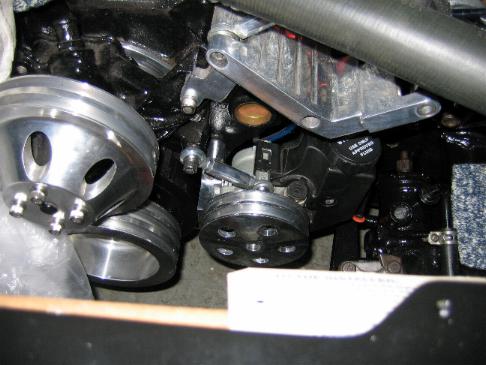
I modified he steering pump bracket as I described earlier and got it to fit. I pressed the pulley on the pump, polished the bracket and shortened the adjusting rod.
Alltogether this was (again) a time consuming job but I am satisfied with the result.

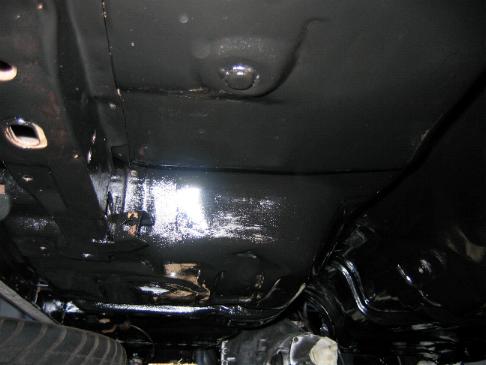
More cleaning on the bottom has been done....I really don't like this job!
After painting it does look nice again and the floors will have some protection against the elements.
If I ever do a next project I will strip the body and have it chemically stripped and coated inside and out in a paint bath.
Maybe more expensive (which I doubt now considering I also had to strip the outside before paint) but definately a lot less work.
Since I have done the work on my car in stages and I did not have my own garage the 1st time I did it that was no option.
It all comes down to having space to put your car and parts, if you have that (the more space the better) things become easier.
The underside is now painted past the rear seat area, so the "tunnel" for the rear axle and trunk are left to do.
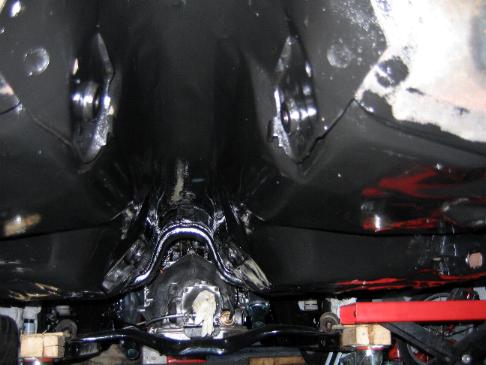
I think one more day of cleaning and painting should be enough to get the bottom done.....then it's time to put it back on it's wheels!