My Camaro
page 36
Status may 2007
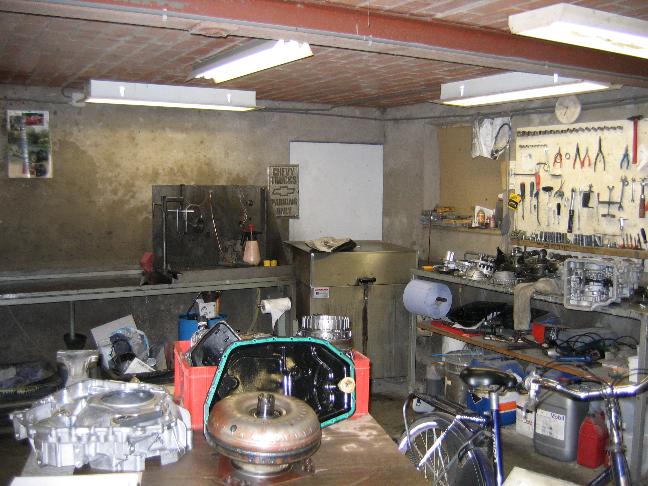
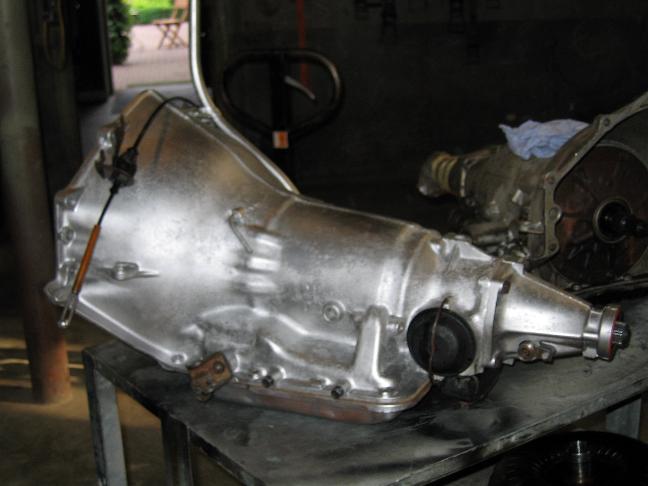
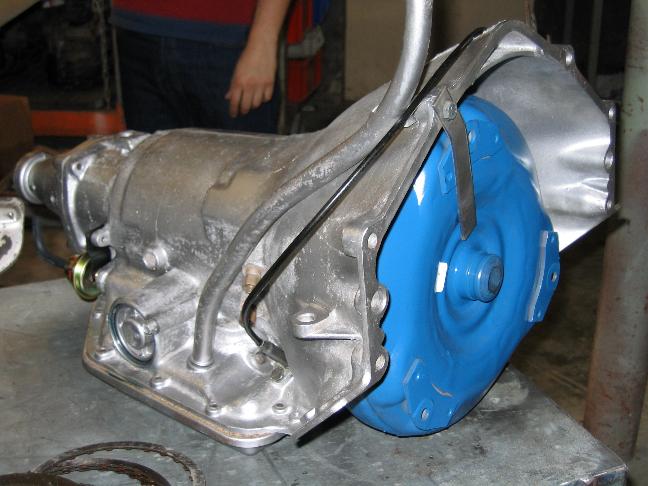
Earlier in the week I had my TH350 transmission rebuilt with performance parts. It was leaking but still working fine so I thought about replacing all the external seals and to put it back in. One thing I was afraid of is that it would fail in a short period due to the stronger motor and I would have to take it out of the car again which is a lot of work. So I bit the bullit (decided to spend the extra money) and brought the tranny away for a rebuild for peace of mind. When I picked it up the guys showed me the old parts, some clutch plates had some places where the friction material was worn and there were bushings that showed wear. Internal rubber seals were so hard you could break them. After seeing the old parts I was really happy I decided to have it rebuid, Also the converter with stock stall speed was rebuild. For the guys here in The Netherlands, give www.automatenrevisie.nl in Ede/Lunteren a call when you need your transmission rebuild, decent pricing and quick turnaround time. They also have exchange transmissions (for the common types) which allows you to drive over, drop your old trans and drive off with a new one. I wanted to use my own trans since I allready had a shift kit in it and I wanted performance parts in it to cope with the power my motor puts out.
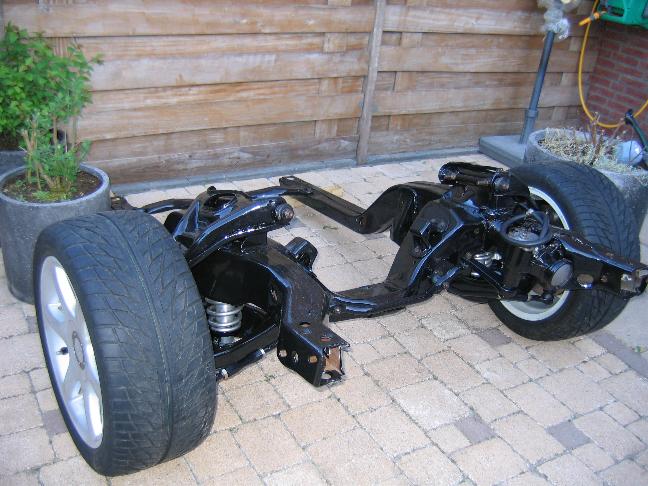
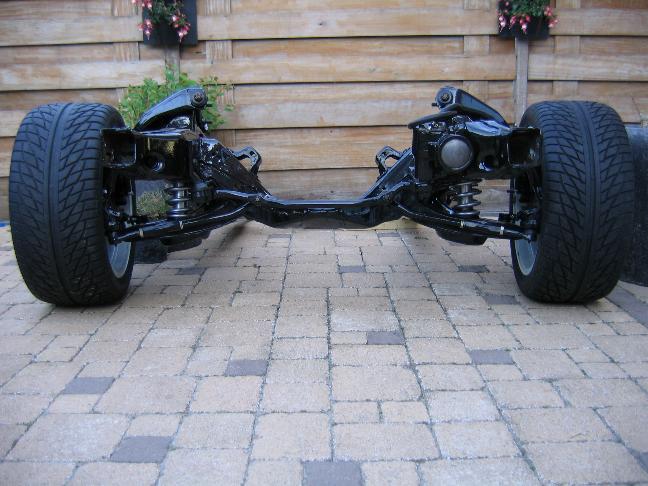
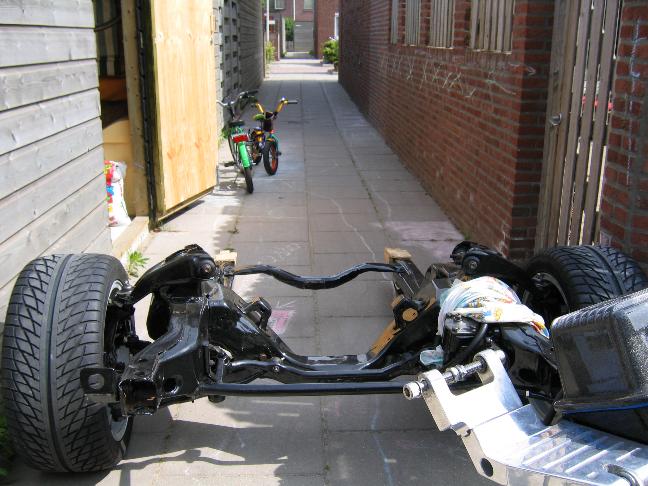
Since I had all the parts at home I assembled the subframe in the back garden which gave me the possibility to also work on it at night and on days my wife was working and I had to take care of my kids. Downside to this is that I had to get it out of the garden through a 90cm (3ft) door.
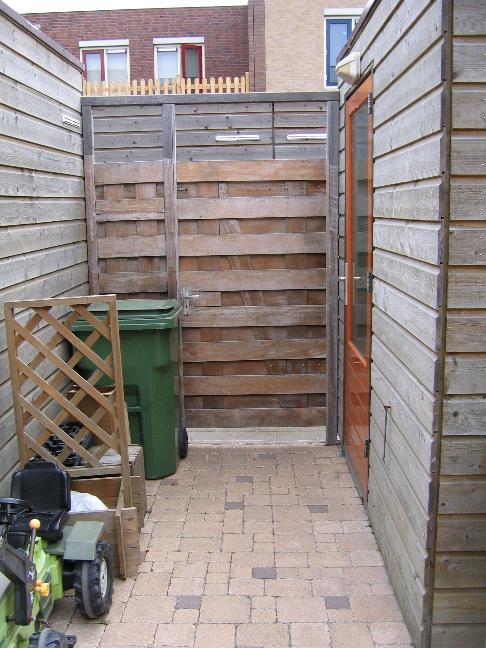
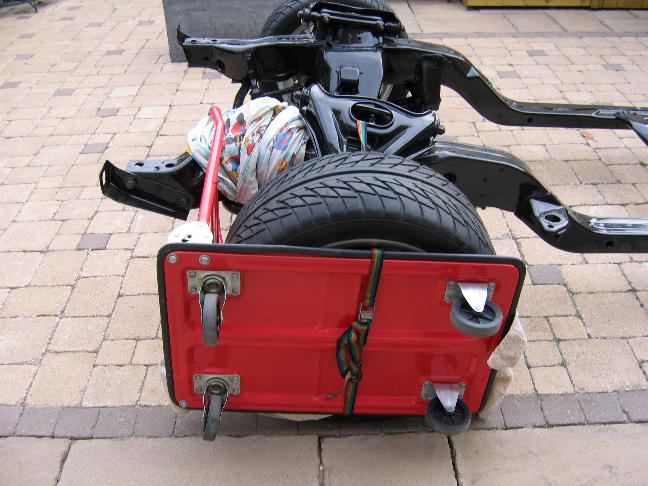
As you understand the subframe is (just a bit ;-) ) too wide. I strapped a small cart to one wheel and tilted the complete frame 90 degrees (alone). The plan was good....the excecution a bit less... after just 2 meters the wheels of the cart collapsed under the weight of the frame. I had to carefully lower the frame to get it back on its wheels. Now it rested in a tight spot with no way for me to lift it back up alone. Talking over the fence with my neighbour she suggested to put new wheels under the cart, but I only had 2 left, the other 2 were mounted on the back of the subframe to roll it around.
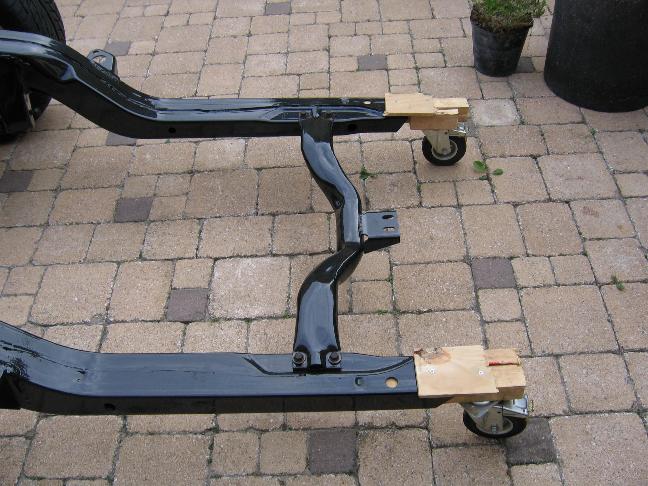
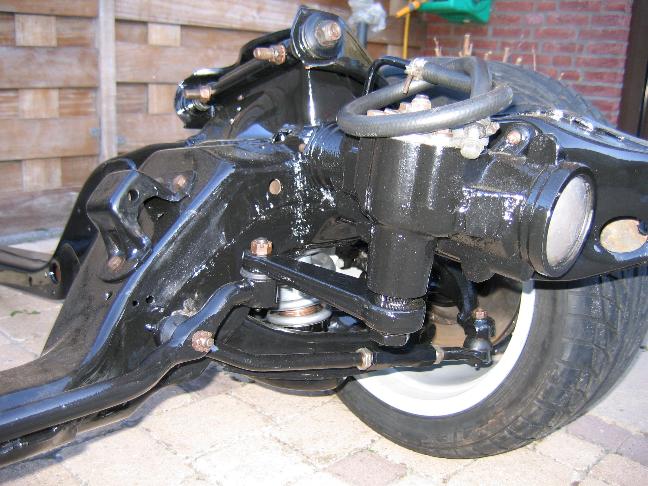
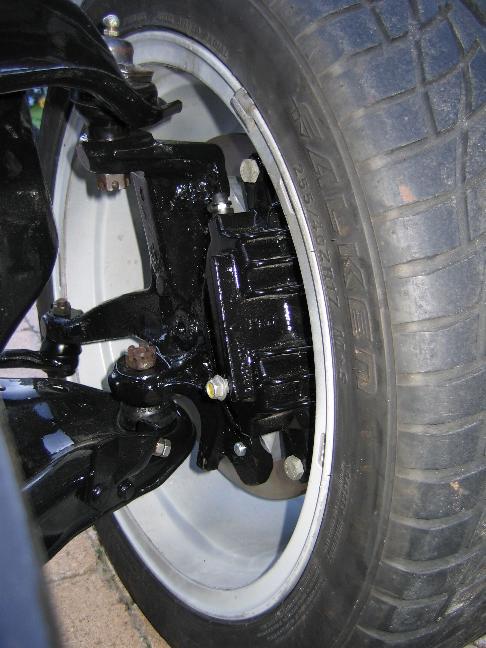
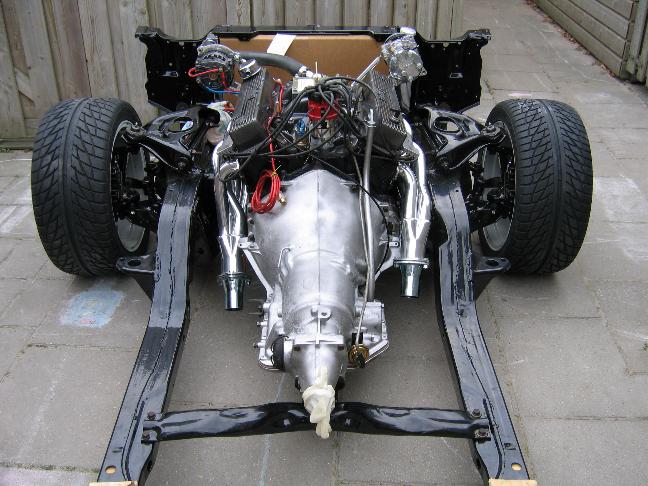
NOTE....the transmission crossmember is (still) mounted backwards in this picture!
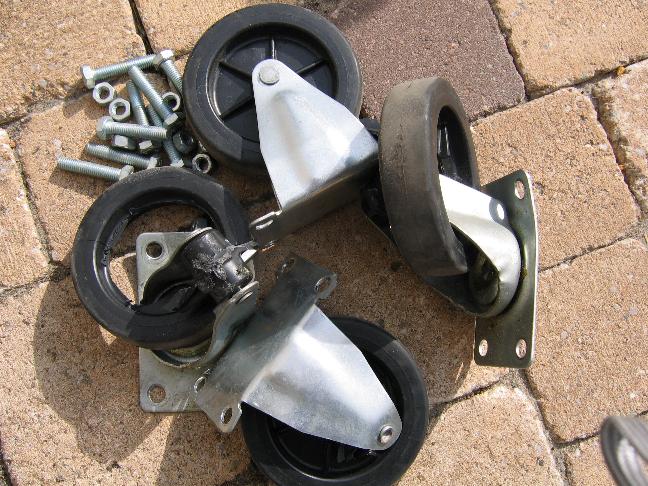
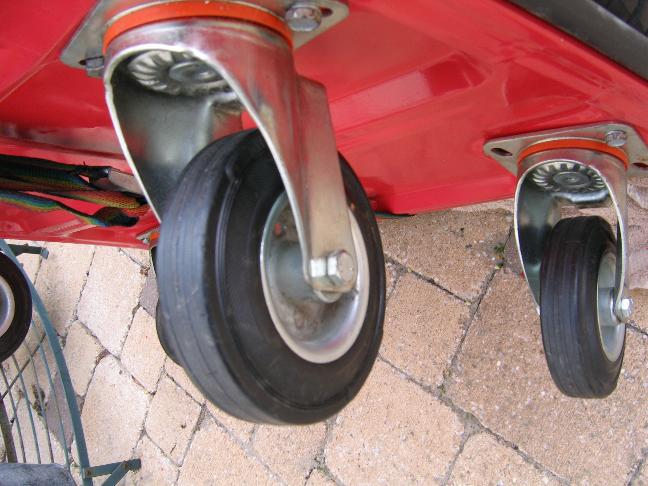
This all happened on a sunday with no way to go somewhere and buy an extra set. Then my neighbour said: " I've got a set in my shed you can use" and my luck had changed, they were identical to the ones I had spare. The wheels originally under the cart were plastic with rubber and the new ones are steel with rubber. I mounted the larger and stronger wheels and gave my brother a call to ask him to come over and help me out. After he arrived it took us about 10 minutes to lift it and roll it out of the garden into the back "alley". Then I got my engine hoist from my garage to get the motor and tranny in the subframe.

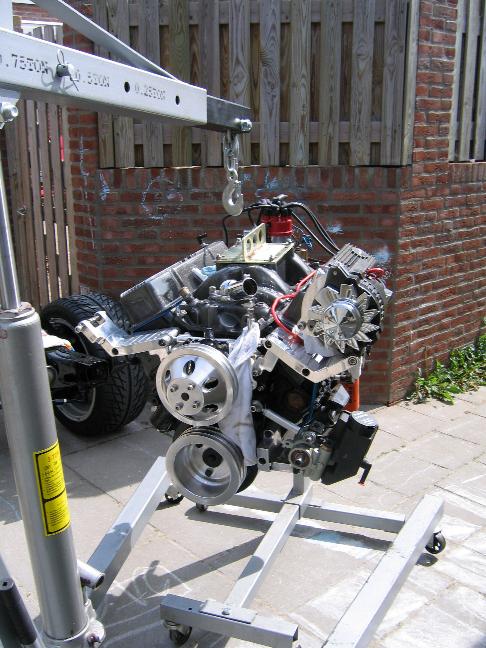
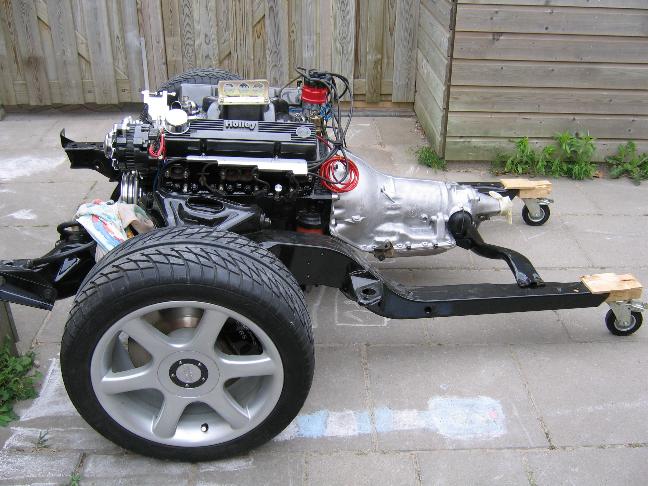

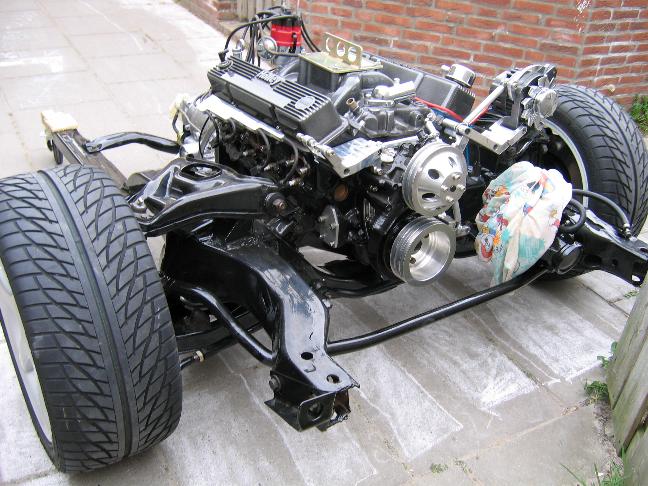
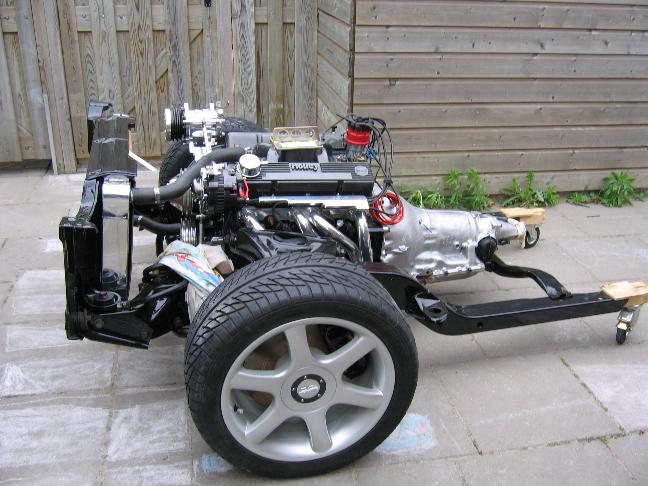
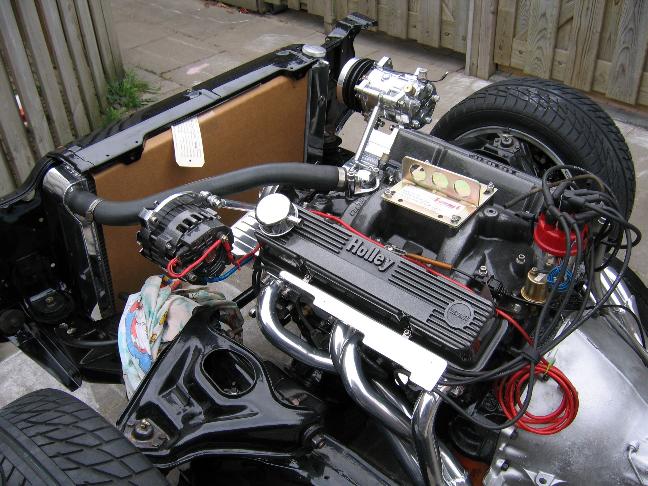
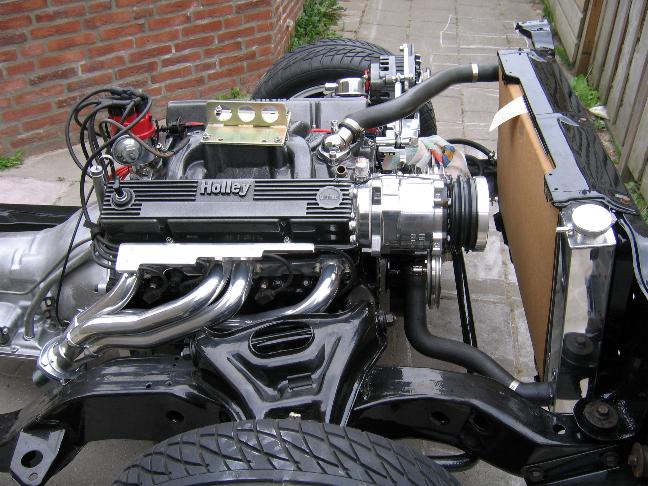
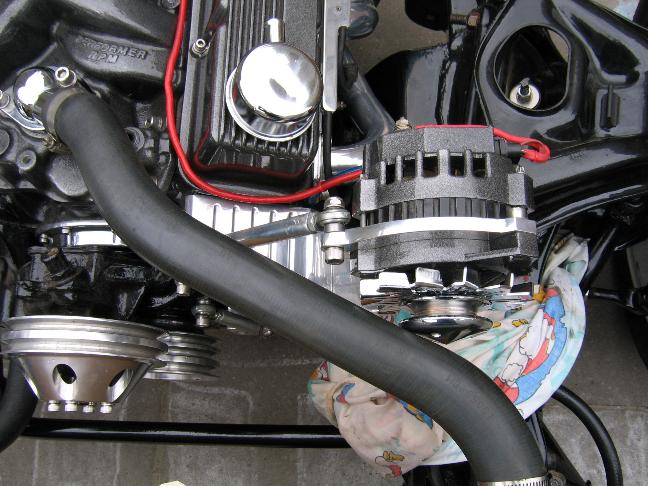
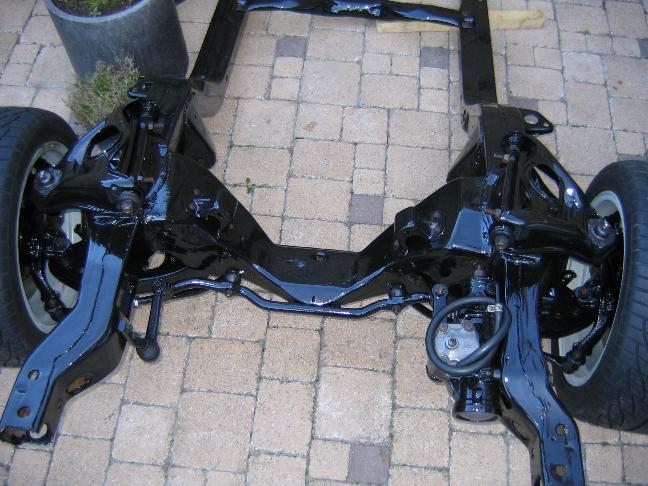
I took the motor off the stand and coupled it to the transmission and then lowered it onto the frame. After that the Patriot Clipster ceramic coated header went on as well as the Summit mini starter. Then the Sanden Airco compressor went on followed by the radiator support and the new AFCO aluminum radiator. I decided to put on as much as I could before rolling it back to the garage since all the new parts were taking up loads of space in my shed. I am really pleased with how it all turned out! One thing I noticed is that the upper radiator hose is interfering with the alternator so I need to further investigate that. The new steering pump clashes with the steering box so I need to make some changes to the pump bracket to move it closer to the block and away from the steering box.
Then in the evening my brother came over to help me push the subframe back to the garage (a 3km/2mile walk!). We took turns pulling with a towing cable and "steering" with ropes attached to the rear ot the subframe. It took some time but we got it done and had some time to talk and catch up on things. (I owe him a big THANK YOU for his help!)
I hope I can keep up the pace cause it feels good to get this much work done......I wonder if I might make it back on the road this year.....we will see.